When it comes to Garage Conversion in Winter Gardens, flooring properly is crucial to an effective venture. If it is not done correctly you could end up with a floor that is uneven and is unsafe, not to mention the expense of having to redo it. This blog post will give an expert guideline on the correct method of flooring to be laid when renovating your garage. We will discuss the importance of taking accurate measurements, the right type of materials to use, and what tools and equipment you’ll need to complete the job. With the right information and planning, you’ll be able to be able to lay flooring successfully in your Garage Conversion in Winter Gardens project and have flooring that lasts for years to come.

Make your garage a functional home with help of Peak Builders. If you’re looking for a home office, game room, or an extra bedroom, they will help make your dreams come true by converting your garage with our Garage Conversion in Winter Gardens! Contact us today to learn more about Garage Conversion in Winter Gardens!
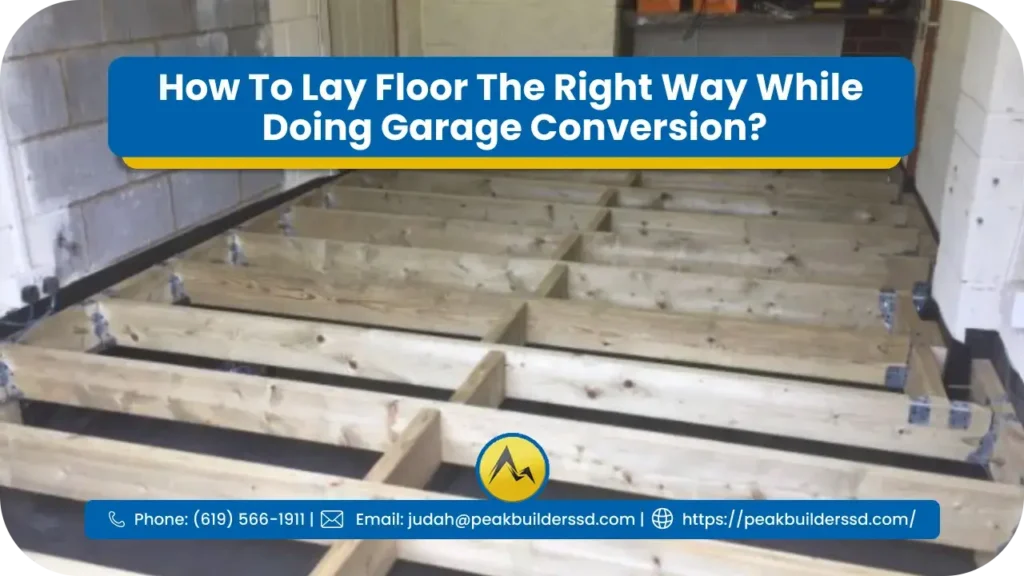
Identify and prepare the subfloor
Before you lay your floor, it is crucial to make sure that the subfloor is in good condition. This means that you should check the subfloor for any issues or repairs that need to be completed. If you spot any flaws you should fix them prior to installing the flooring. It is also essential to ensure that the subfloor is completely clean and free of dust or debris that can interfere with the installation process. Additionally, you should fill any cracks or gaps with the appropriate filler and make sure to smooth out any low or high areas. After these steps are complete the subfloor is now ready for your new flooring that will be installed.
Cut and measure the flooring to the desired size
Find the measurement of the floor in which you would like to put the flooring. Then, cut the flooring to length using the aid of a saw. Make sure you take precise measurements and take into account the expansion gap. Be mindful of the direction the flooring should be laid – the planks should be laid perpendicularly to the longest wall of the room. Cut the flooring evenly and precisely to create a professional appearance.
Dry fit the flooring
Before starting the installation of the flooring, it’s crucial to dry-fit the flooring. The process of drying the floor involves laid out the tiles or planks in the area where they will be installed and then making any adjustments to ensure they fit correctly. This is essential because once the flooring is installed, it will be difficult to adjust it. After dry fitting the flooring, take time to make sure that the seams are neatly aligned and that there aren’t any gaps between the boards.
Fix the flooring using nails or screws
Once you have the flooring in place, it is important to secure it properly with nails or screws. This will ensure that it stays in place and there is no chance of it shifting because of tension or movement. Utilize a drill to place the nails or screws at regular intervals along the length of the board, making sure they are firmly secured. Be sure to check the directions of the manufacturer to get guidance on the correct dimensions and the type of nails or screws to utilize.
Be sure to check the flooring for holes or misalignments
Once you have the flooring materials laid then the next step is to check your flooring to see if there are any misalignments or gaps. This is a crucial aspect to make sure that the floor is properly laid out and even. Utilize a level to look for any unevenness along the edges, making sure that all four sides are even. Also, make sure to check for gap between floor sheets, and then fill them in using the correct sealant. By doing this, you can make sure that the Garage Conversion in Winter Gardens meets the highest standards.
Apply adhesive or sealant on the flooring
When you’ve selected the flooring type, you will need to apply a sealant or adhesive onto the flooring. This not only helps to hold the flooring in place, but also adds to the longevity of the material. It is important to read the instructions on the packaging of the sealant or adhesive to make sure it’s suitable for the floor. Apply the sealant or adhesive equally to the subfloor using a notched trowel and completely cover the floor prior to installing the flooring.
Install any moldings, trims, or trims
After the subflooring has been installed and leveled, it’s now time to install any moldings or trims. The installation of trims and moldings is a key step in the floor installation process and will ensure a professional look and lasting aesthetics. Trims and moldings need to be cut to lengths that are desired and after that, they should be securely nailed or glued in place. If possible, use pre-made trims and moldings for an easier and seamless appearance. It will result in an appearance that is more professional.
Examine the flooring for imperfections or mistakes
After all the preparations and installation of the subfloor and underlayment The following step will be to inspect the flooring for any imperfections or errors. Ensure that all the pieces of flooring are securely installed and in a proper manner. Pay close attention to the seams and corners and make sure that they are properly aligned and connected. Also, ensure that it is even and the boards are all attached to the subfloor and then note any imperfections or errors using a pencil. After you’ve identified the problem areas, fix them prior to moving for the next phase.
In conclusion, Garage Conversion in Winter Gardenss can be an excellent option to add value and utility to your house. However, it’s important to lay the floor correctly to ensure that your garage is secure and safe. Follow the guidelines on this post can make sure that you lay the floor correctly, so the conversion is functional and aesthetically pleasing. With some careful planning and attention to detail you will be able to enjoy your garage’s new look for years to be.
How Can I Enhance the Beauty Of My Home with a Garage Conversion in Winter Gardens?
What Materials And Products Should Be Used During A Garage Conversion in Winter Gardens?