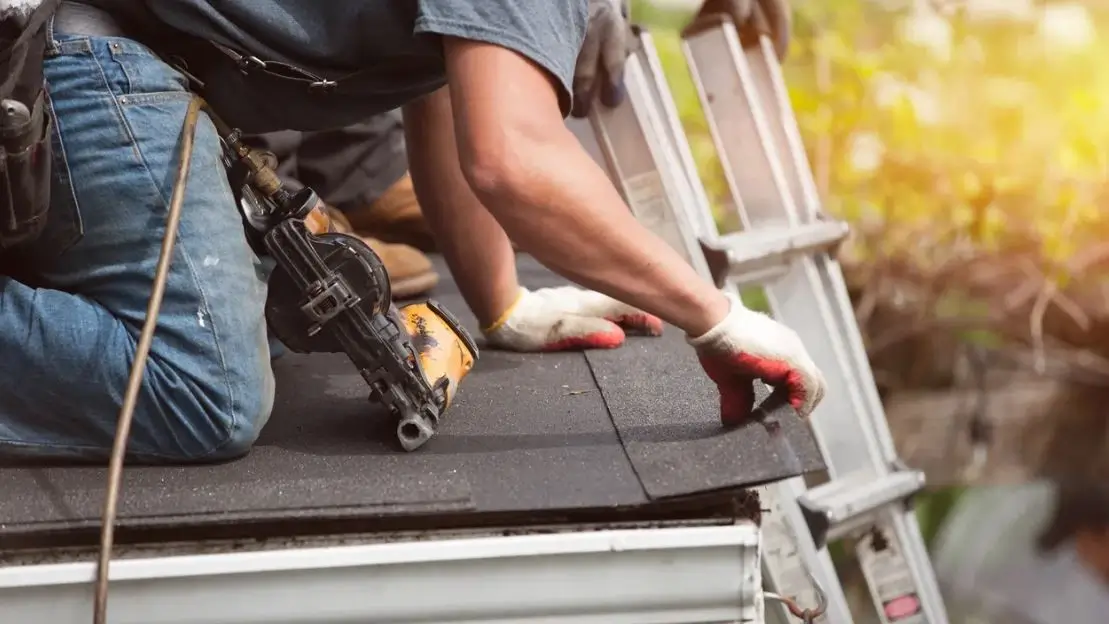
Roof repair
Repairing Flashing: Essential Tips for Stopping Roof Leaks
June 25, 2024
Peak Builders & Roofers

Repairing roof flashing is crucial to address leaks effectively. Start by safely accessing your roof to inspect the flashing for signs of damage, such as corrosion or improper installation. Cleaning the affected area is essential before removal of damaged sections. Carefully measure and cut new flashing to guarantee it fits perfectly. Use roofing nails spaced every two inches to secure it in place, and do not overlook applying a generous amount of roofing sealant along the edges for a robust watertight seal. This repair can greatly extend the lifespan of your roof by preventing water entry. Explore further to uncover additional preventative tips.
Identifying Common Flashing Problems
To effectively prevent roof leaks, it is essential to first identify common problems associated with flashing, such as corrosion, improper installation, and sealant failure. Corrosion often occurs when the metal flashing is exposed to moisture and environmental elements, gradually degrading the material. This issue is particularly prevalent in areas with high humidity or near coastal regions where salt spray is common. Regular inspections can help spot early signs of corrosion, typically indicated by rust or a powdery white residue on aluminum flashing. Improper installation is another frequent culprit behind flashing failures. Flashing should always be installed so that it overlaps adequately and directs water away from the roof structure. Any deviation from these installation principles can result in vulnerabilities where water might enter, leading to leaks that can compromise the integrity of the entire roofing system. Ensuring that flashing is securely fastened and lies flat against the roof is vital for its effectiveness. Lastly, sealant failure can occur when the caulking used to seal flashing degrades over time. Exposure to extreme temperatures and UV radiation can cause sealants to crack and shrink, losing their waterproof qualities. Regular maintenance checks allow homeowners to replace old or damaged sealants before significant leakage occurs.Step-by-Step Flashing Repair Guide
Here is a detailed, step-by-step guide to repairing roof flashing, designed to help homeowners effectively address and resolve common issues. First, guarantee safety by using a sturdy ladder and wearing non-slip shoes. Begin by inspecting the damaged flashing area. Clean debris and dirt from the flashing and surrounding roofing material to assess the extent of damage. Use a chisel or similar tool to gently remove any cracked, broken, or rusted flashing without damaging the surrounding materials. Next, measure the area that needs replacement. Cut a new piece of flashing to fit; it's advisable to use the same material as the original for consistency and integrity. Slide the new flashing into place, ensuring it sits flush against the roof surface. Secure it with roofing nails, spaced approximately every two inches. Apply a bead of roofing sealant along the edges of the new flashing for a watertight seal. Smooth the sealant with a putty knife to ensure it fully covers the edges and fills any gaps.Conclusion
In conclusion, preserving the integrity of roofing systems requires timely and efficient flashing maintenance. A strong solution to stop water intrusion can be ensured by carefully analyzing typical issues and adhering to a comprehensive step-by-step manual. This approach not only enhances the longevity of the roof but also greatly reduces the risk of costly water damage, thereby preserving the structural integrity and value of the property. Mastery in flashing repair coincides with maintaining a secure, durable home environment. Read More: Sealing Roof Leaks: Best Practices for Long-Lasting Repairs Effective Leak Repairs: How to Spot and Fix Roof LeaksTags
roof repair 92111roof repair estimateroof repair near chula vista caroof repair near meroof repair productsroof repair sealantroof repair southern californiaroof repair specialistsan diego roof repair