
Smooth Roof Installation: What Homeowners Should Prepare For
Getting a new roof installed is a significant project. It takes 1-5 days depending on home size and complexity, involves crews working around your property, and results in a system that should protect your home for the next 25-50 years. Knowing what to expect — and what to do before, during, and after installation — helps the project go smoothly.
Before Installation: Preparation Checklist
Clear the attic. Installation involves nailing through the decking from above. Items stored in your attic can be knocked off shelves by vibration. Move anything fragile or valuable before work begins.
Move vehicles. Clear your driveway and any vehicles parked close to the house. Dumpsters for debris removal need staging space, and workers need room to maneuver materials.
Protect outdoor furniture and plantings. Falling roofing debris can damage patio furniture, potted plants, and landscaping. Move anything that's easily relocatable. Contractors typically protect plantings with tarps, but removing delicate items is better.
Plan for noise. Roofing involves nail guns, power tools, heavy materials being moved, and crew communication. Plan for a noisy 1-4 days. If you work from home, plan accordingly.
Secure pets. Roofing crews move quickly around the property, and open gates or doors are a risk. Keep pets secured indoors or in a fenced area away from the work zone.
Inform neighbors. A courtesy heads-up about the upcoming project goes a long way, especially regarding noise and any potential temporary impacts on shared driveways or parking.
The Day Crew Arrives
Expect an early start. Most roofing crews begin between 6:30-7:30 AM to take advantage of cool morning temperatures. In San Diego's summer heat, starting early and finishing by early afternoon is standard practice.
Verify the materials delivered match your contract. Before tear-off begins, check that the shingle brand, product line, and color match what you agreed to. Verify that the underlayment, flashing materials, and any accessories are on site.
Confirm the project superintendent is on site at the start of work and available for questions. For a multi-day project, know who to contact if you have concerns.
During the Tear-Off Phase
Tear-off — removing existing roofing down to the deck — is the loudest, most disruptive phase of the project.
Debris management. A responsible contractor stages a dumpster or trailer to catch old roofing as it's removed. Some use tarps to protect plantings at the perimeter. Roofing nails are the primary hazard: a daily cleanup sweep with a magnet roller should be part of every professional project.
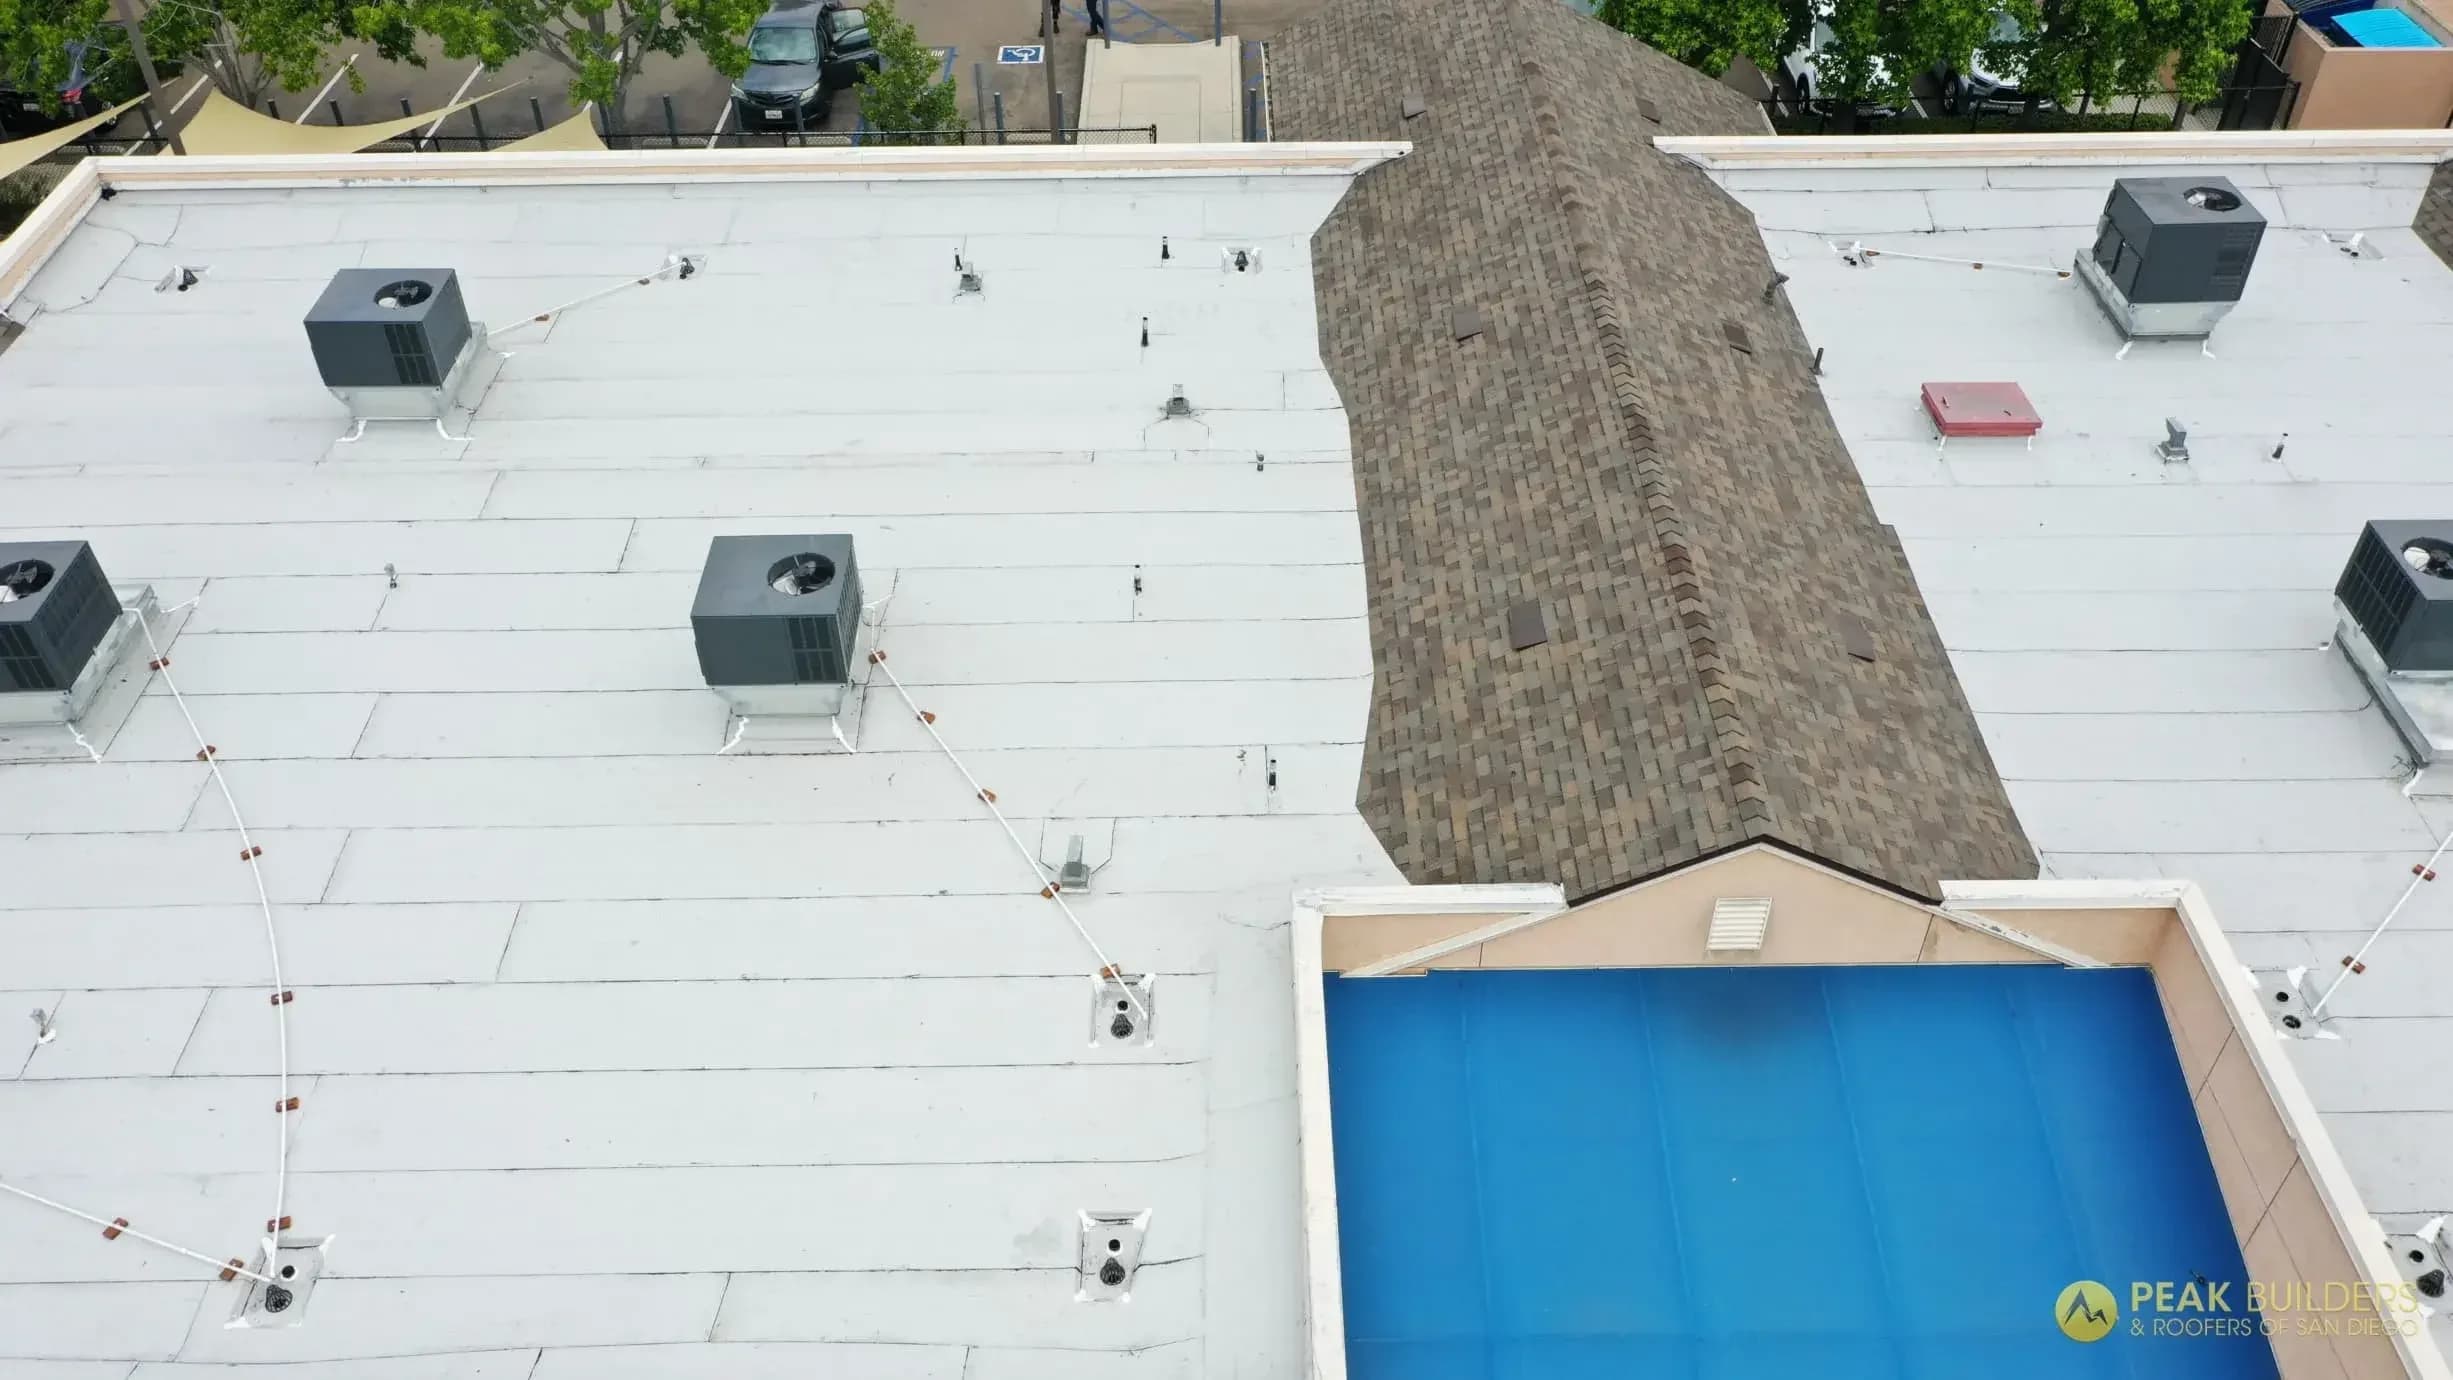
Deck inspection. This is the key moment during any re-roofing project. Once the old roofing is off, the contractor can see the deck condition. Any rotted, soft, or damaged sections need to be identified and priced before proceeding. A good contractor walks you through any deck issues found and gets approval before repairing.
Don't let the project go overnight with open decking in rainy season. If the schedule involves a stop for the day before the new roof is on, ensure the deck is protected with tarps if rain is possible.
During the New Roof Installation
Underlayment goes on first. The synthetic or felt barrier across the entire deck before any shingles or tile are installed is your first indicator of installation quality. It should be laid flat without wrinkles, with proper overlaps at seams.
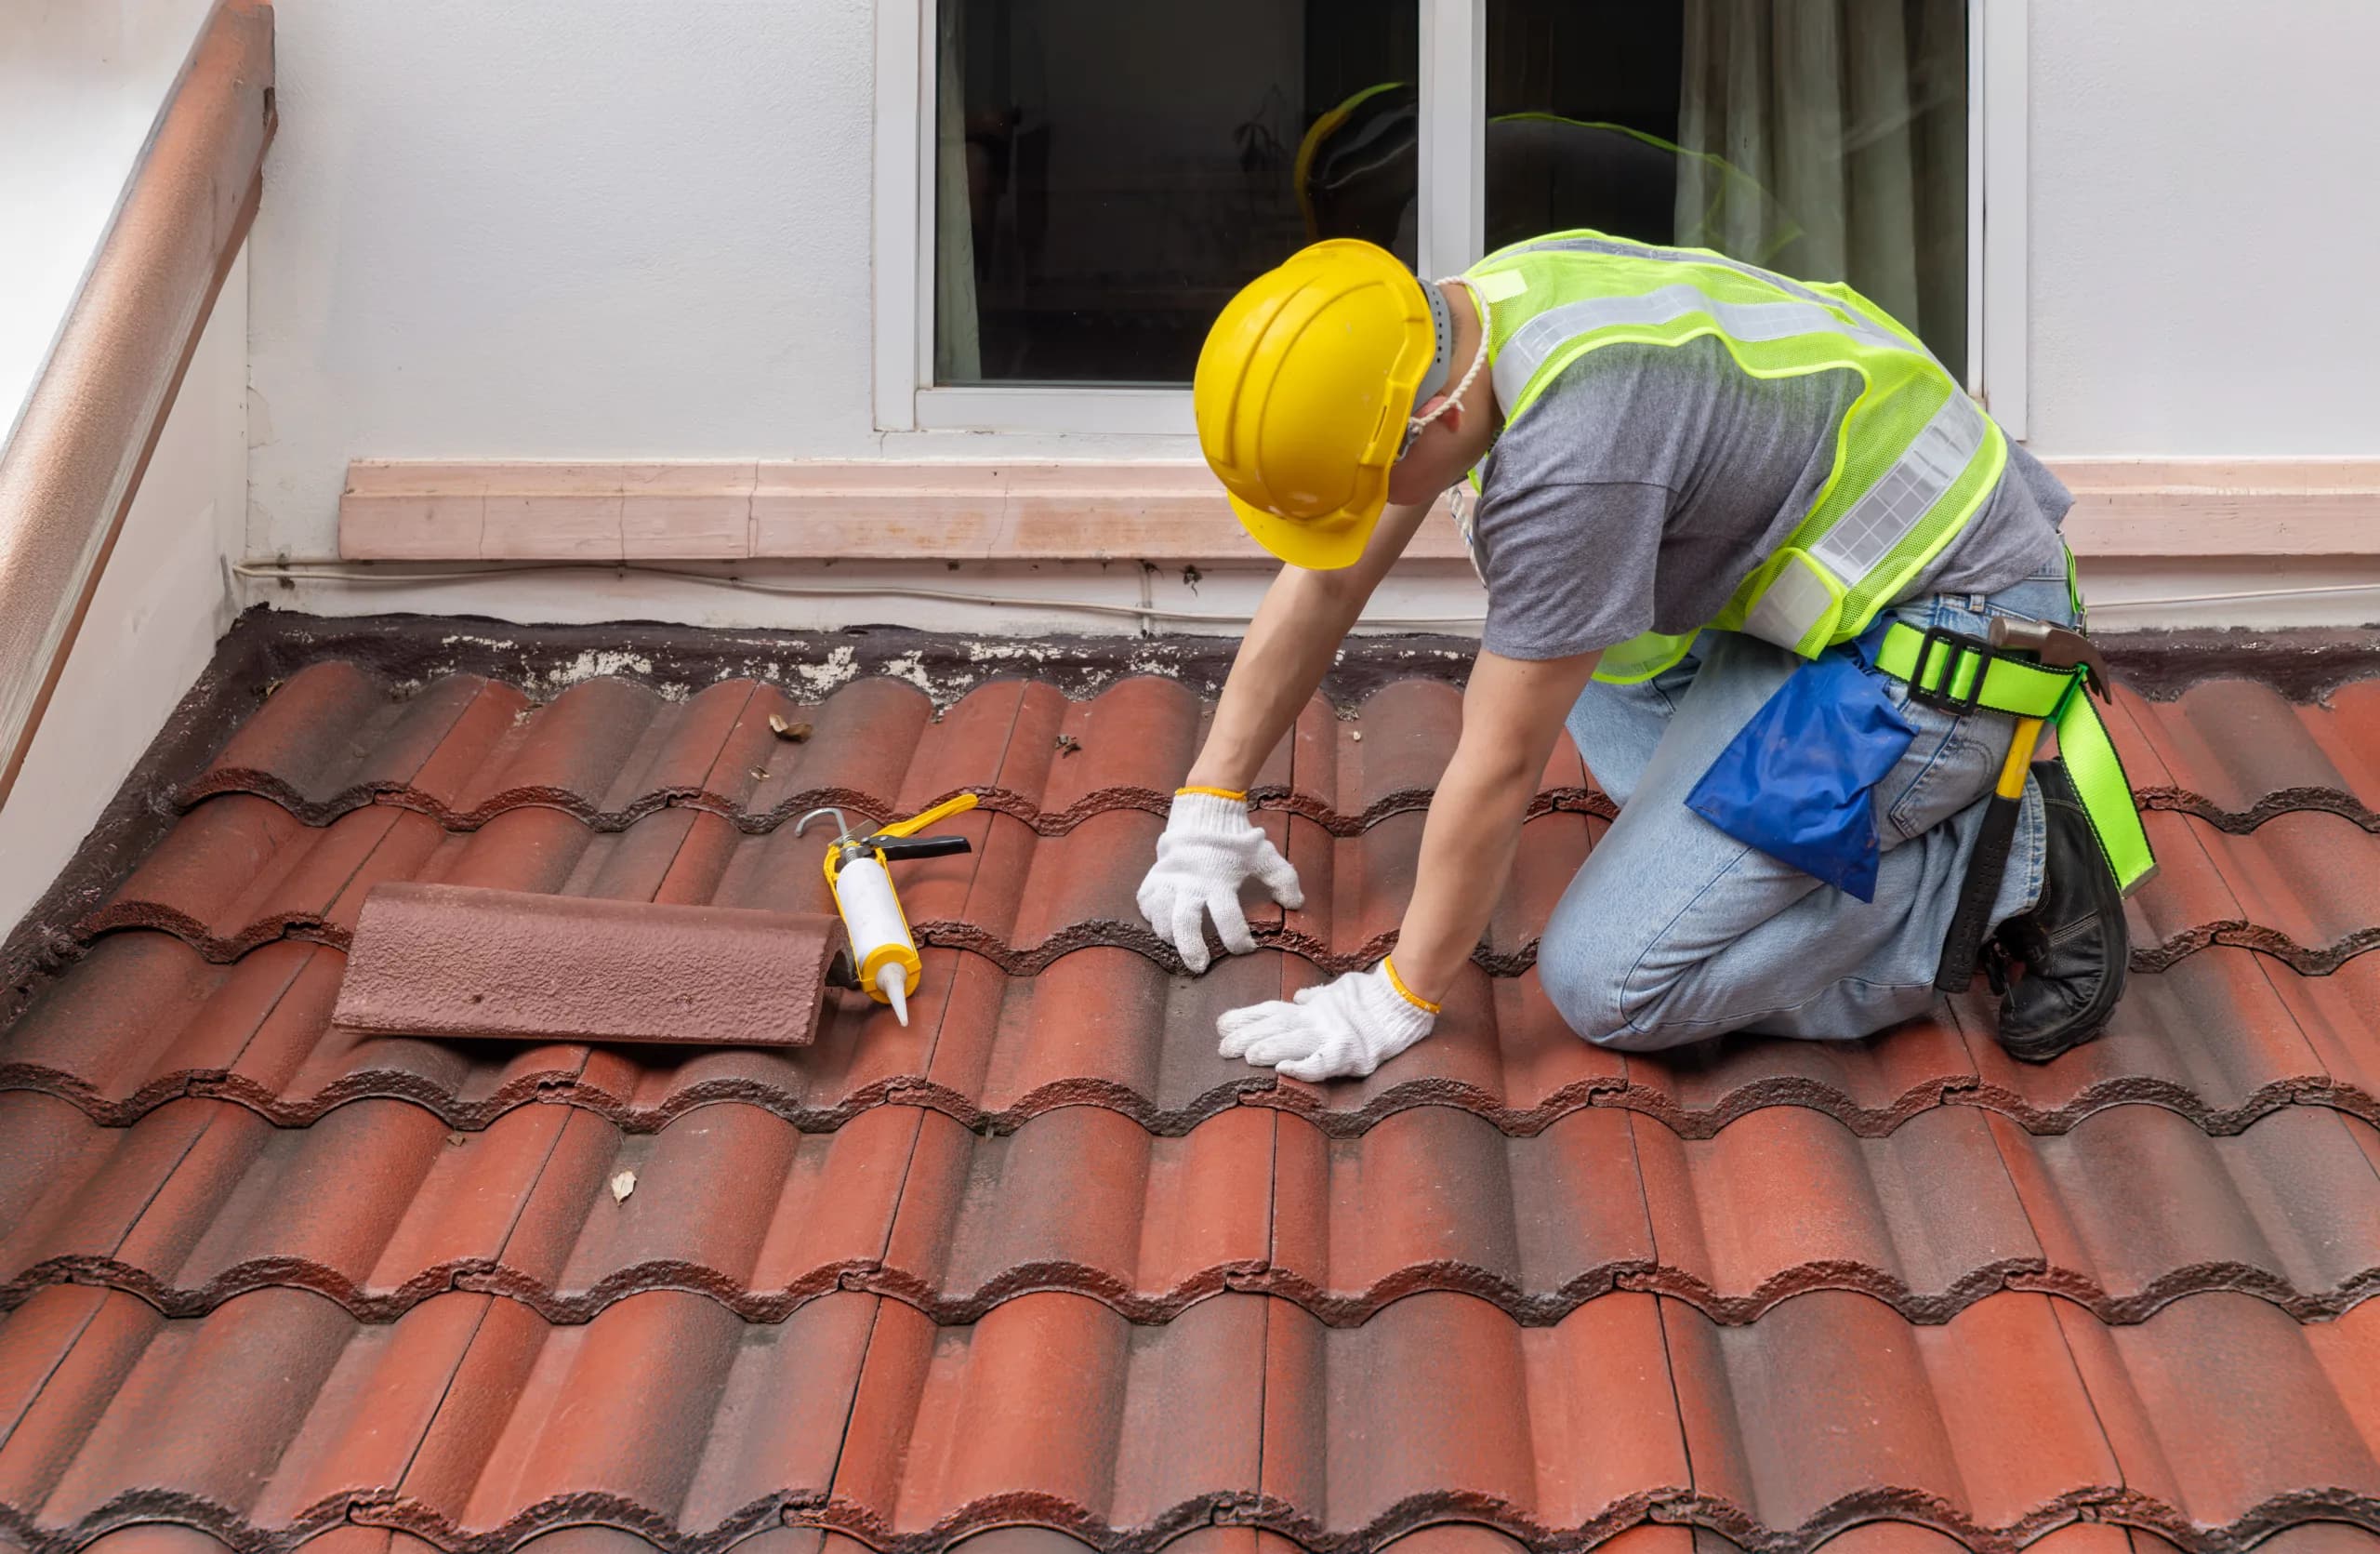
Drip edge and flashing installation. New metal drip edge at eaves and rakes, and new flashing at all penetrations and valleys, is a mark of quality. Some contractors reuse old flashing — ask specifically whether all flashing is being replaced.
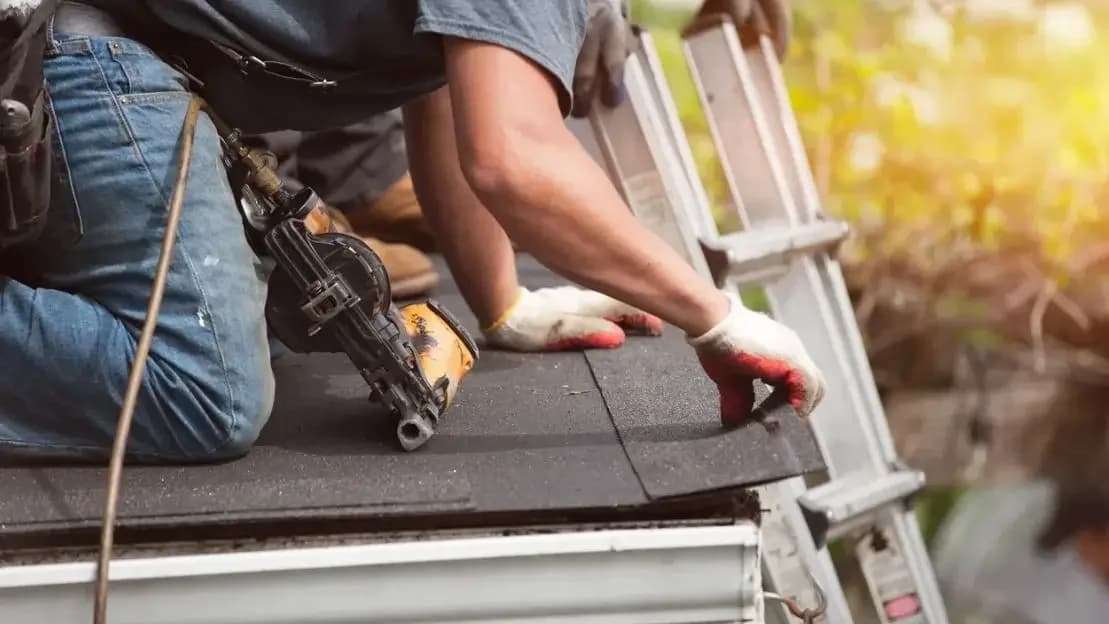
Shingle installation pattern. Asphalt shingles should be nailed in the manufacturer-specified nail zone, with the correct number of nails per shingle. A quality installation uses 6 nails per shingle (not 4) in high-wind areas. If you're watching installation, you can verify this visually.
After Installation: What to Check
Walk the perimeter. Look for roofing debris, nails, or material that wasn't cleaned up. A magnetic roller sweep should be done around all landscaped and driveway areas.
Inspect visible areas from the ground. With binoculars or from a second-story window, check that shingles are aligned, ridge caps are properly installed, and flashing is neatly terminated.
Check the attic. Look for any daylight intrusion, and check that nail tips from shingle nails don't penetrate through the decking into the attic space (over-driven nails are occasionally a problem).
Get your documentation. After completion, the contractor should provide:
- Permit and inspection sign-off paperwork
- Manufacturer warranty registration confirmation
- Workmanship warranty in writing
- Photo documentation of completed work (especially flashing and penetrations)
What Good Workmanship Looks Like
- Straight, aligned shingle courses with consistent exposure
- No gaps or loose tabs at eaves, rakes, or ridge
- Tight, properly lapped underlayment with no bubbles or wrinkles
- Flashing properly sealed at all edges with compatible caulk
- Ridge caps that match the shingle system and are properly nailed
Service Areas
Peak Builders & Roofers of San Diego provides professional roof installation throughout the county, including San Diego, Chula Vista, El Cajon, La Mesa, Santee, Lakeside, Spring Valley, Lemon Grove, National City, and more.
Ready to Schedule Your Installation?
Call (619) 330-8185 or visit our contact page to get a free estimate and schedule. We walk every client through the process before work begins so there are no surprises. GAF Master Elite certified, C-39 licensed, serving San Diego County since 1999.