
Tile Roof Replacement in San Diego: Everything You Need to Know
If your San Diego tile roof is leaking but the tiles overhead still look perfect, the problem almost certainly isn't the tile — it's the waterproof underlayment hidden beneath it. Tile lasts 50-plus years, but the felt or membrane under it dries out and fails in roughly 20 to 25 years in our climate, which is exactly why so many county roofs leak while the tile field looks fine. This guide explains why that happens, how a proper tile replacement is done here, and how coastal salt air, marine layer, UV, fire zones, and California's newest energy code shape the right way to do the job.
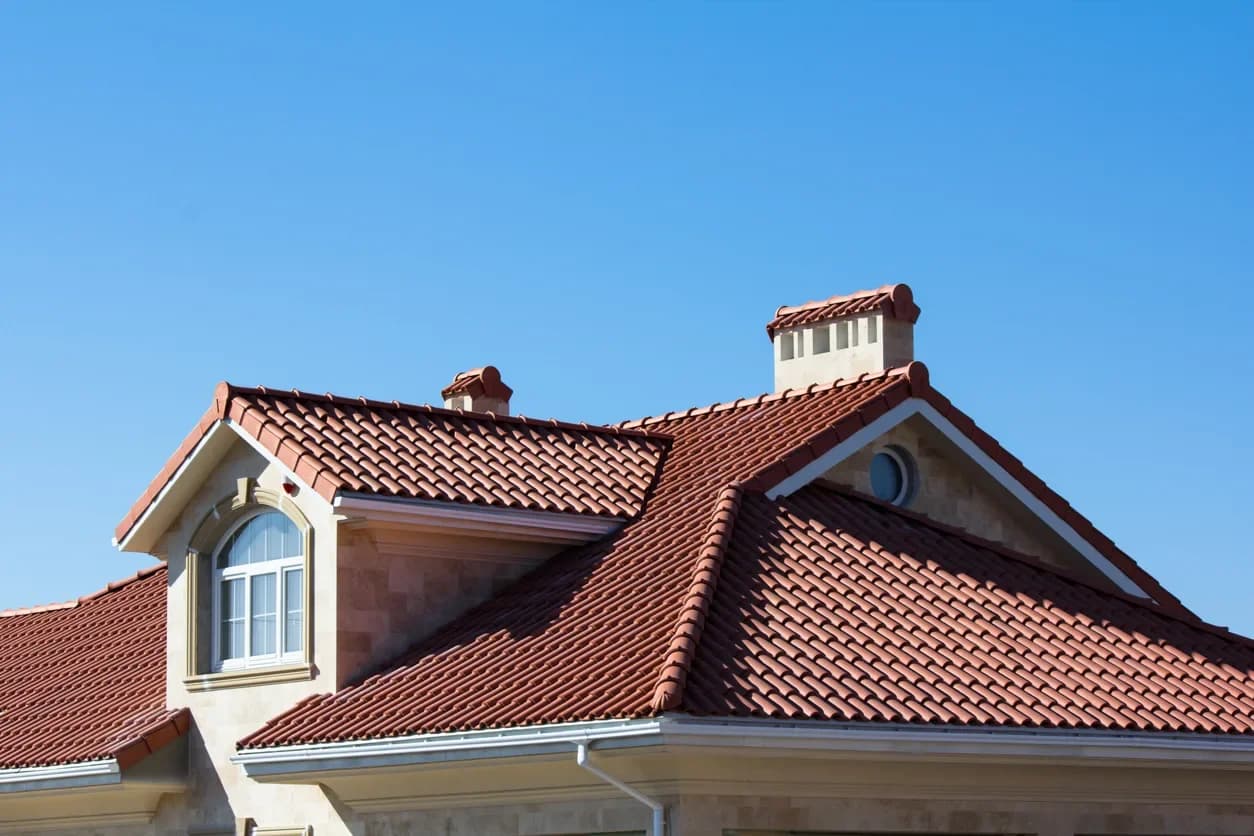
We've replaced more than 5,000 roofs across San Diego County since 1999, and the Spanish, Mediterranean, and ranch homes that define neighborhoods from Kensington to Rancho Santa Fe are overwhelmingly tile. Understanding the two-layer system below is the difference between a roof that's repaired correctly once and one that gets patched again and again.
Why San Diego Tile Roofs Leak (It's the Underlayment, Not the Tile)
A tile roof is a two-layer system, and the two layers age on completely different timelines. The tiles — concrete or clay — are armor. Clay can last 75 to 100 years; concrete realistically goes 40 to 60. The underlayment beneath them, the actual waterproof membrane that sheds the water the tiles don't, is the part that dies young. Under our relentless year-round UV and the daily heat-cool cycle on a sun-baked south slope, traditional 30-pound felt becomes brittle and cracks in 20 to 25 years.
So when a homeowner in Point Loma or Poway calls about a leak and tells us the roof "can't be that old, the tiles are fine," they're usually right about the tiles and wrong about the roof. On a 1980s or '90s tile home — and the county is full of them, because most of this tile stock went on between 1980 and 2005 — the felt is at or past end of life even when not a single tile is cracked. The fix isn't patching tiles. It's pulling them, replacing the membrane underneath, and resetting the tiles. That's what a tile roof replacement actually means in San Diego.
A few telltale signs that the underlayment, not the tile, is failing: interior ceiling stains after the first real atmospheric-river storm; white efflorescence powder wicking up near the eaves; soft or spongy decking in the attic; and repairs that never seem to hold because the problem is systemic, not a single broken tile. If you're seeing any of these, a roof inspection that lifts representative tiles and checks the membrane in several areas will tell you exactly where you stand.
Tile Reroof vs. Full Tile Replacement
There are two versions of this project, and which one you need depends on the condition of your existing tile — its soundness, age, and whether the profile can still be matched.
A tile reroof (lift and relay) is the common one. The crew carefully removes all the existing tiles and stacks them, strips the old underlayment down to the deck, installs new membrane and flashing, then resets your original tiles on top. You typically lose 10 to 15 percent of tiles to breakage during handling, and those get swapped from a matching salvage stock. This is the right call for the great majority of San Diego homes, because intact concrete and clay tile is genuinely worth keeping — it still has decades of service life left.
A full tile replacement means new tile goes on. The deciding factor is again condition: the existing tile is spalling or delaminating, the profile is discontinued and can't be matched, or the homeowner wants a different look. When the tile is structurally sound, reusing it is almost always the better engineering choice.
How to Judge Good Tile Work
Because the membrane is hidden the moment the tile goes back on, the quality of a tile reroof is mostly invisible after the job is done. That makes a few details worth knowing so you can tell careful work from shortcuts.
- Underlayment grade. A modern synthetic underlayment or a granulated cap sheet should outlast the brittle 30-pound felt found on older roofs. Coastal homes benefit from a premium self-adhering membrane.
- Flashing metal. Valleys, headwalls, sidewalls, and penetrations are where roofs actually leak. The metal there should match the environment (see the coastal section below), and old, corroded flashing should be replaced, not reused.
- Deck inspection. Once tile is off, any dry-rotted sheathing should be replaced before new membrane goes down. An honest contractor tells you up front that hidden rot may be found at tear-off rather than pretending the deck is perfect.
- Ridge and hip caps. Two-part polyurethane foam adhesive flexes and holds tile in high wind far better than old mortar beds, which crack and shed over time.
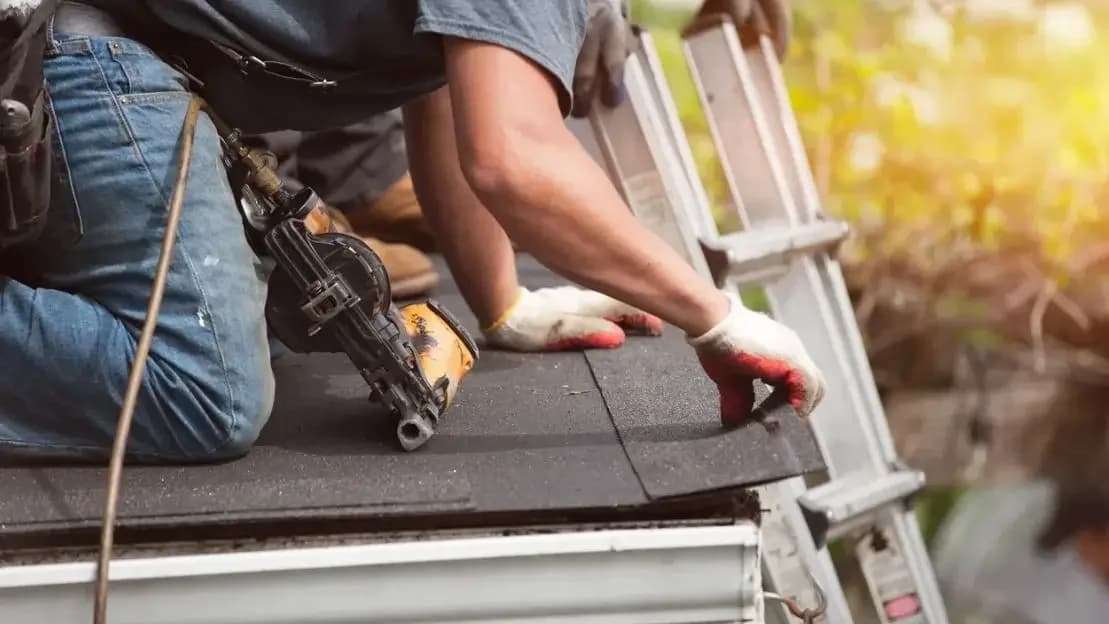
- Nailing and interlock. Tiles should be fastened and interlocked to the manufacturer's wind specification, not just laid loosely in place.
The Coastal Salt-Air Factor — Spec the Right Metal
If your home is anywhere near the water — La Jolla, Del Mar, Coronado, Encinitas, Oceanside, Point Loma — the flashing metal matters as much as the underlayment. Standard galvanized steel flashing corrodes fast in salt air, and we routinely pull rusted-through valley and headwall flashing off coastal homes that is younger than the roof itself. Near the coast we spec stainless steel or heavy aluminum flashing, never galvanized, and we favor a granulated cap sheet or premium self-adhering membrane over the simpler two-layer felt used inland.
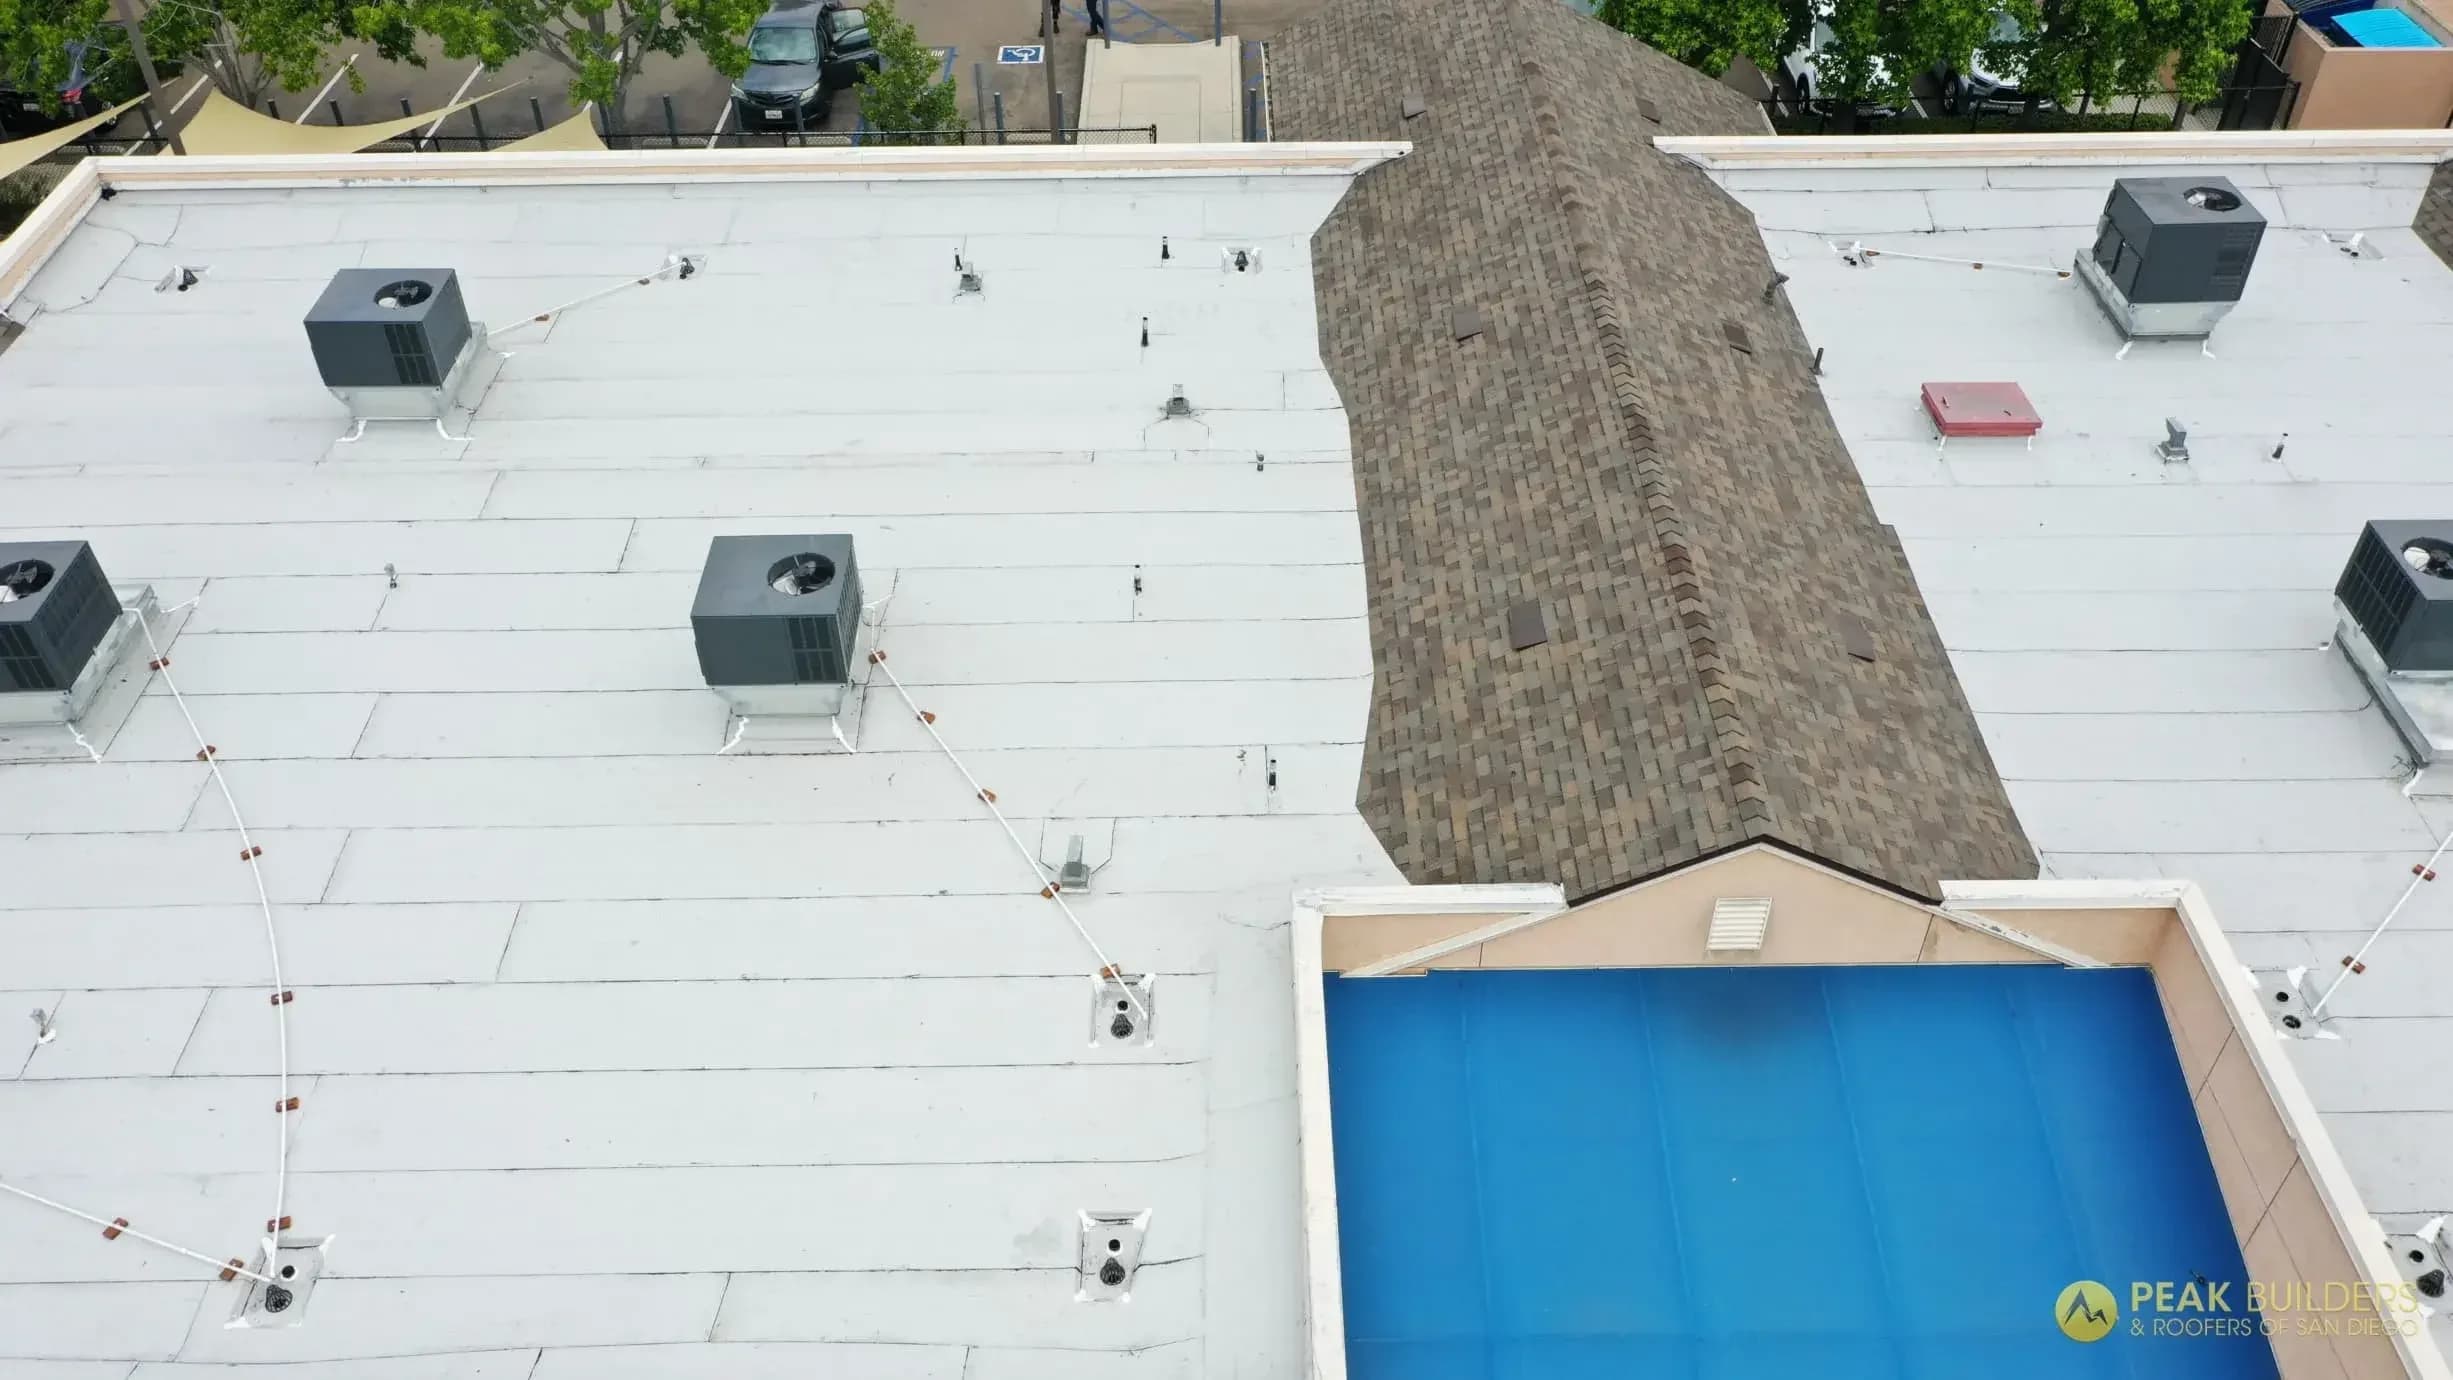
North-facing slopes that sit under the marine layer also grow moss and mold, so debris-shedding details and proper attic ventilation earn their keep there. These are small upgrades at install time that quietly add years to the roof. The same logic applies if we're tying the tile field into a low-slope section with flat roofing membrane like TPO, EPDM, or modified bitumen over a patio or addition.
California Title 24 Cool-Roof Rules Now Reach Steep-Slope Tile
San Diego sits in California Climate Zone 7, and the 2025 Title 24 energy standards — effective January 1, 2026 — newly extend cool-roof requirements to steep-slope residential re-roofs, where they previously focused on low-slope. In plain terms, when you re-roof now, the tile and underlayment assembly generally needs to meet a minimum solar reflectance and thermal emittance, or use an approved alternative like above-sheathing ventilation or added attic insulation. Most concrete and clay tile already qualifies or can be specified to comply, and the path gets confirmed at permit. It's not a reason to delay — it's a reason to work with a contractor who pulls these permits weekly and won't get your project red-tagged at inspection.
Permits, Fire Zones, and HOAs
Tile reroofs in the City of San Diego and unincorporated County areas require a permit and a final inspection, and homes inside the Coastal Zone may need additional review from the California Coastal Commission near the water. In our Wildland-Urban Interface (WUI) fire areas — think the eastern and northern edges toward Poway, Escondido, El Cajon, Santee, and the back-country canyons — code requires a Class A fire assembly and ember-resistant attic vents, which protect against the wind-driven embers that do most of the damage in a Santa Ana event. Tile is naturally Class A, but the vents and edge details are where compliance is won or lost.
Many HOA communities in Scripps Ranch, Rancho Bernardo, and the Chula Vista master plans also dictate tile profile and color in their CC&Rs, so pull your architectural guidelines before choosing material. We handle permitting and inspection as part of every roof replacement.
How the Project Runs
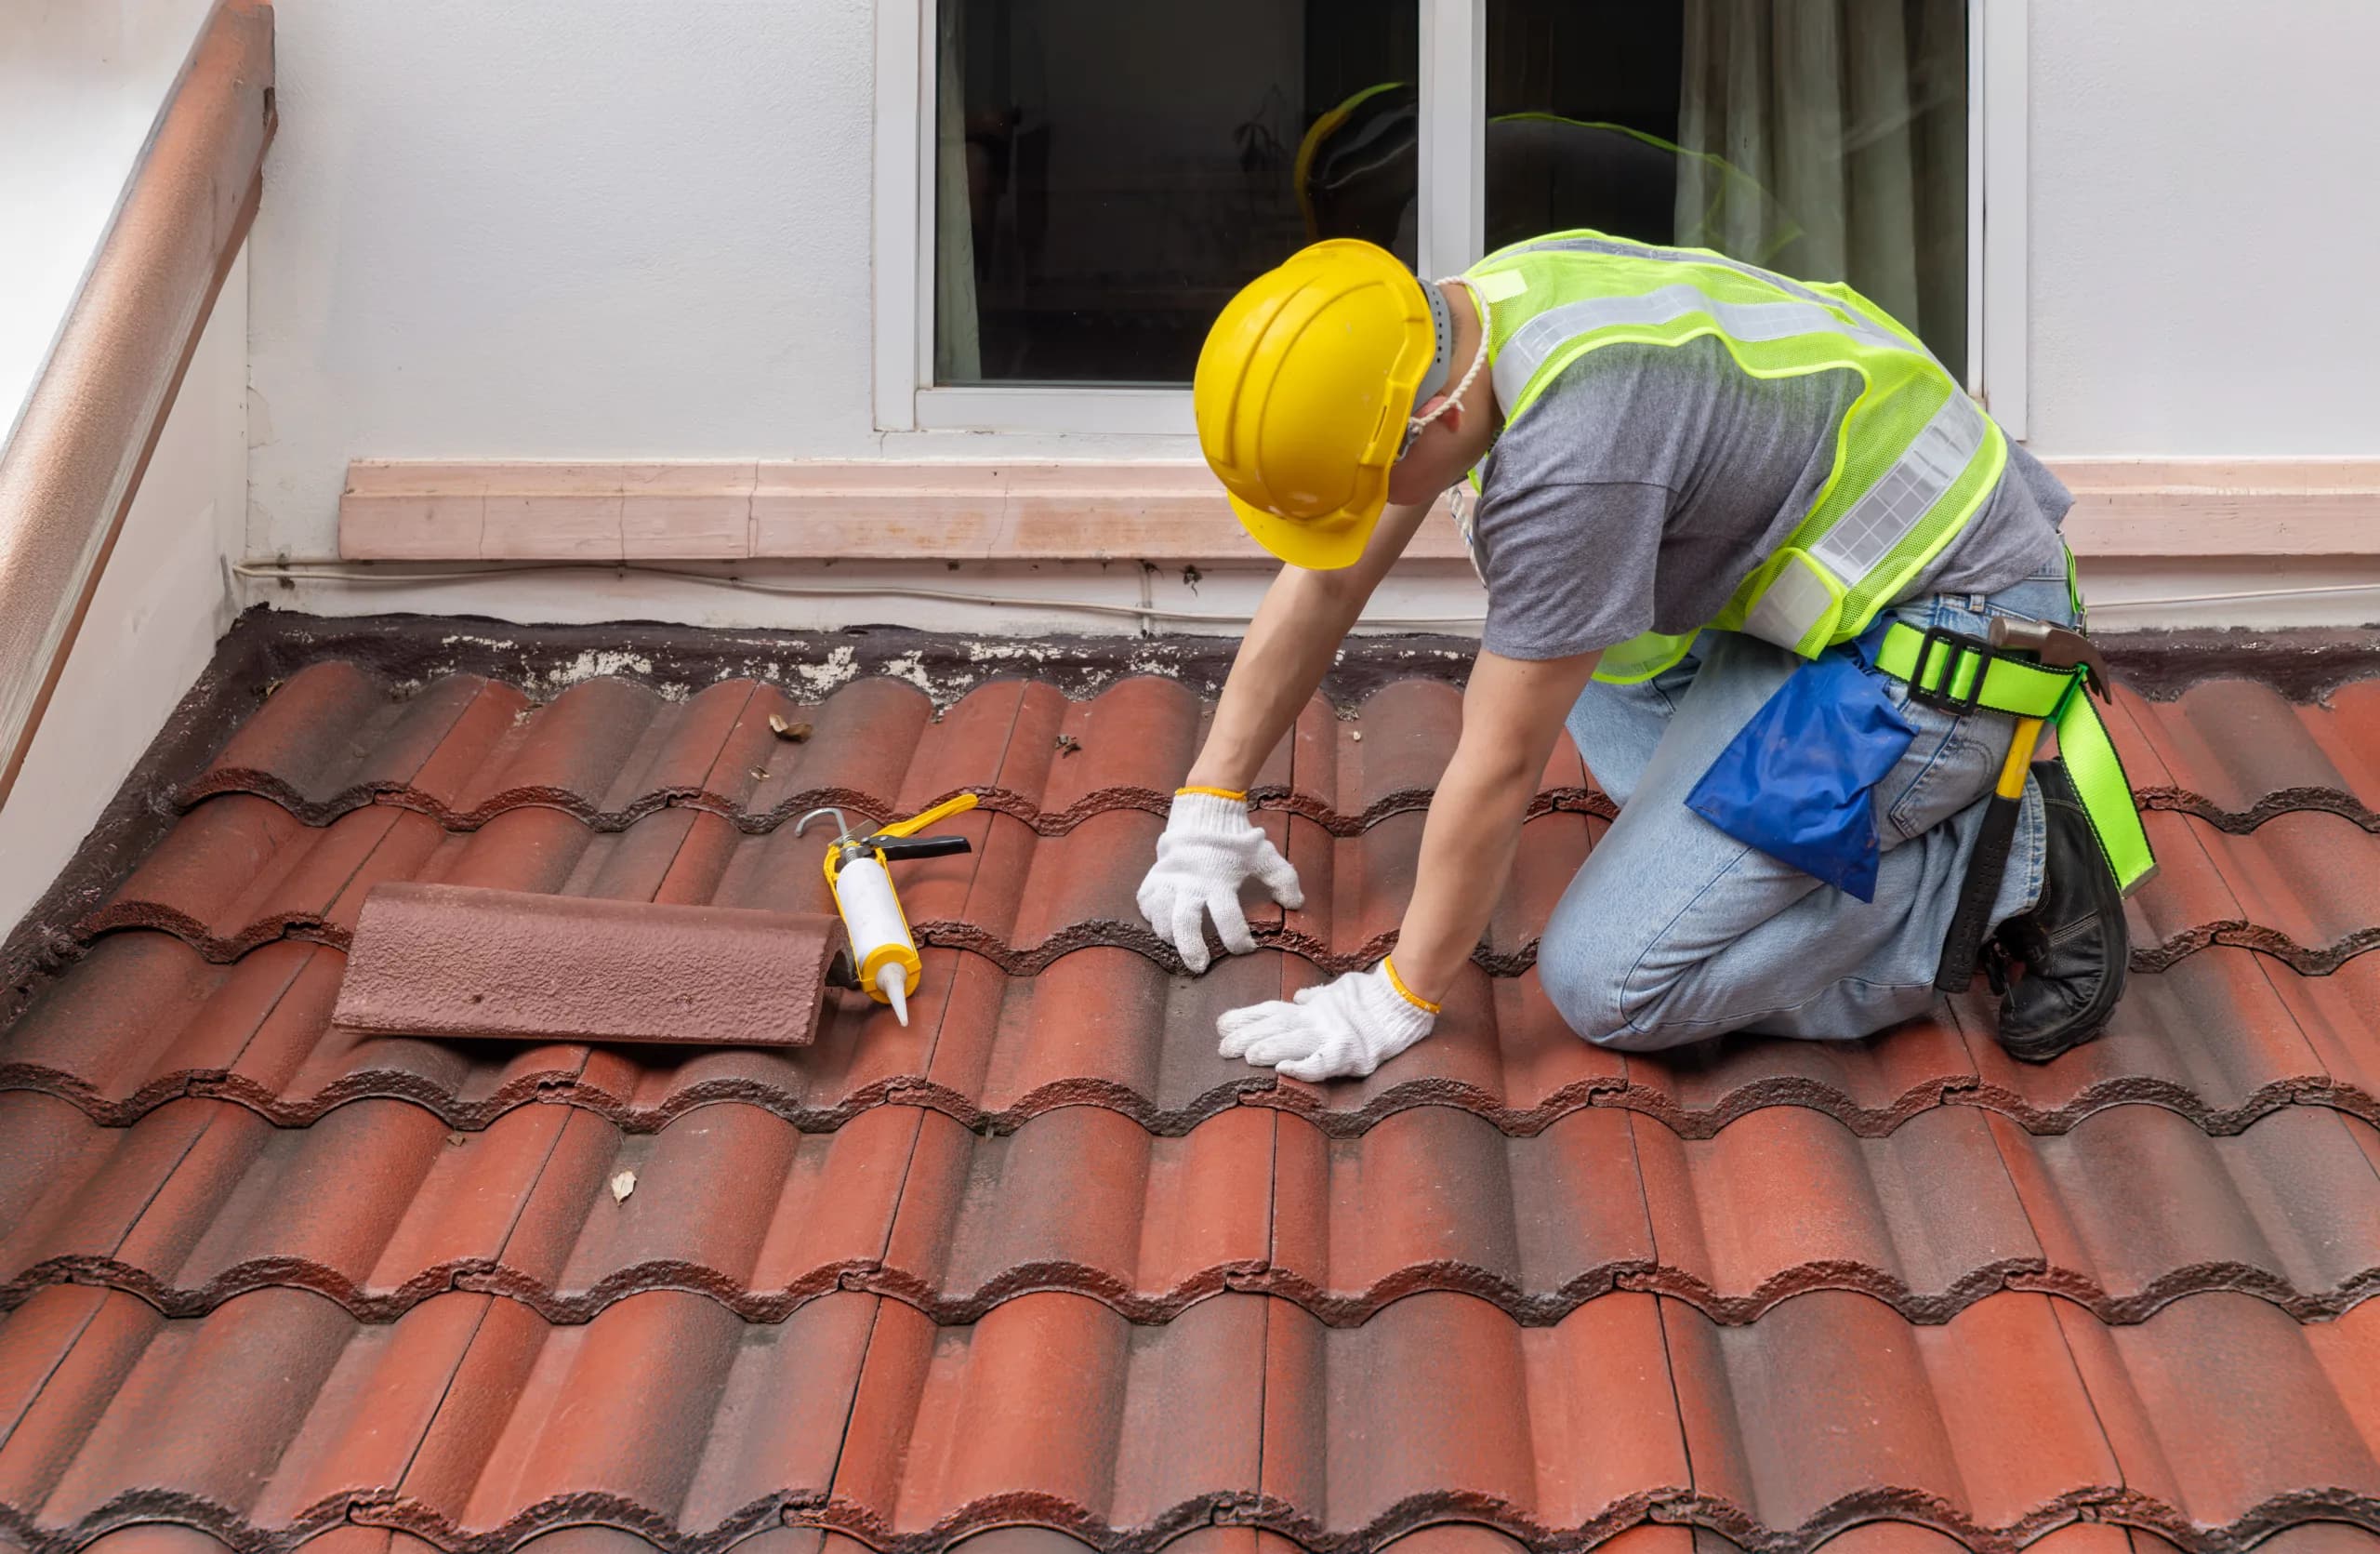
A tile reroof on an average San Diego home takes five to ten working days. The sequence is straightforward: stage protection for landscaping and HVAC, strip tile from the ridge down and stack it, tear off the old underlayment, inspect and repair the deck, lay new membrane lapped eave-to-ridge, replace all flashing, reset the tile from the eave up with correct nailing and wind-resistant interlock, and finish the ridge and hip caps.
When the damage is isolated rather than systemic — a few cracked tiles, one failed valley — a targeted roof repair may be the right answer instead of a full reroof. The choice comes down to the extent of the damage, the age of the underlayment, and whether water has reached the deck. After a wind, ember, or hail event, our storm damage restoration team documents everything for insurance. While the edge metal is exposed is also the natural time to reset or upgrade your gutters.
Peak Builders & Roofers of San Diego is a licensed California contractor (CSLB #1008986), GAF Master Elite and Owens Corning Platinum Preferred, BBB A+, and rated 4.9 stars across 230-plus reviews. If you'd rather move away from tile entirely, we also install standing-seam metal and commercial low-slope systems, and we'll tell you honestly when keeping your existing tile is the smarter long-term move. To get a clear read on your roof, request a free, no-obligation inspection or call (619) 330-8185, and see the full range of work on our San Diego roofing page.
Frequently Asked Questions
Do I really need to replace the tile, or just the underlayment?
In most cases, just the underlayment. If your tiles are sound, the right project is a lift-and-relay: we pull the tile, install fresh waterproof membrane and flashing, and reset your original tiles, replacing only the 10 to 15 percent that break during handling. You only need all-new tile when the existing tile is spalling, badly mismatched, or a discontinued profile that can't be sourced.
How long does a new tile underlayment last in San Diego?
A quality synthetic underlayment or a granulated cap sheet installed today should last 30 to 40 years here — far longer than the brittle 30-pound felt common on older roofs. Coastal homes benefit from a premium self-adhering membrane and stainless or aluminum flashing, which resist salt-air corrosion much better than galvanized metal.
Why is my tile roof leaking when none of the tiles are broken?
Because the tile isn't what keeps water out long-term — the underlayment is, and it ages out in about 20 to 25 years under San Diego sun. Intact tiles over dried-out, cracked felt will leak every time it rains hard. That's the most common roof problem we diagnose in the county.
Is tile worth keeping compared to asphalt shingle?
For most San Diego homes, yes. Tile shrugs off our UV, is naturally Class A fire-rated for WUI zones, and the field itself lasts 50-plus years — so you generally only ever redo the underlayment beneath it rather than the whole assembly the way you would with shingle every 20 to 25 years.
How do I find out what my roof actually needs?
Start with a real inspection. We lift representative tiles, check the membrane and flashing in several areas, and assess the deck and any leak history, then walk you through your options based on condition and age. Request a free, no-obligation inspection and quote or call (619) 330-8185.