Roof Leak Repair in San Diego: A Complete Homeowner Guide
Most roof leaks in San Diego are not a roof-replacement problem — they are a flashing, underlayment, or pipe-boot problem, and the great majority are solved with a targeted repair rather than a tear-off. The hard part isn't fixing the leak once you find it; it's finding where water actually enters versus where it shows up on your ceiling. This guide walks through why San Diego's climate causes specific failures, how a real repair gets diagnosed and done, the materials that hold up here, and how to prevent the next one.
We've put a roof inspection crew on more than 5,000 San Diego roofs since 1999, and the pattern is remarkably consistent: the tiles look fine, the homeowner is baffled, and the failure is hidden in a layer nobody can see from the ground.
Why San Diego Roofs Leak (When It Barely Rains)
San Diego's dry climate is exactly why our roofs leak. With so few rain days, homeowners go years without thinking about the roof, then the first atmospheric-river storm of the season finds every weakness at once. The damage was building the whole time — intense year-round UV, coastal salt air, and marine moisture degrade roofing materials whether or not it's raining.
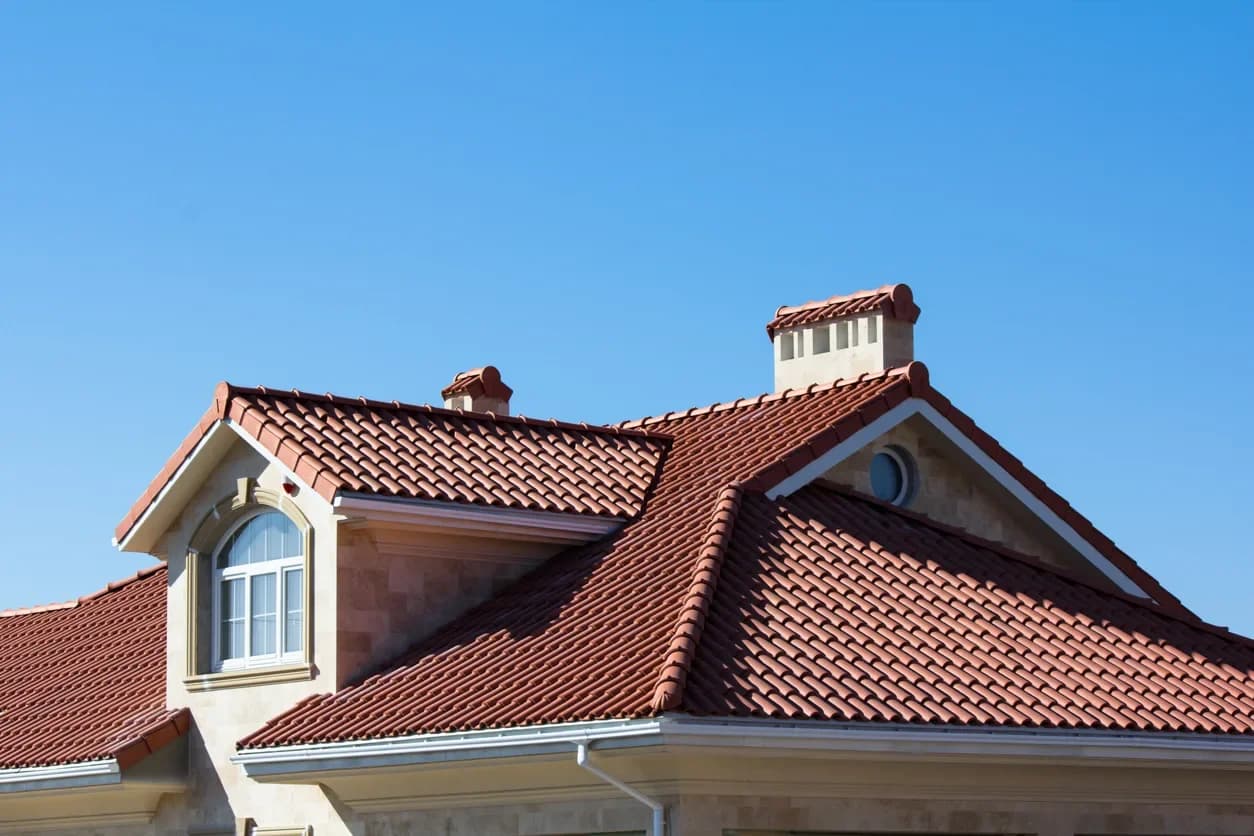
The single most important fact about San Diego's tile-dominant housing stock — all that Spanish and Mediterranean clay and concrete tile across Kensington, Mission Hills, La Jolla, and Rancho Santa Fe — is this: the tile lasts 50 years or more, but the underlayment beneath it fails at roughly 20 to 25 years. Tile is just the rain shield. The felt or synthetic membrane underneath is what actually keeps water out of your house. So a roof can look pristine — original 1960s mission barrel tile, not a crack in sight — and still leak because the 30-pound felt under it turned brittle and tore. On a 1920s tile roof in Kensington we routinely lift beautiful clay tile to find underlayment that crumbles in your hand.
Coastal homes have a second problem: salt-air corrosion. Galvanized steel flashing near the water in Point Loma, Coronado, Del Mar, and Encinitas rusts through years early, and rusted flashing is the number-one leak source we find. North-facing slopes that sit under the marine layer grow moss and mold that hold moisture against the roof. And year-round UV bakes the rubber pipe boots and exposed sealants until they crack.
The Most Common Leak Sources We Find
Flashing failures lead the list. Flashing is the metal that seals every joint where something penetrates the roof — chimneys, skylights, vents, walls, HVAC curbs. When it corrodes, lifts, or was installed wrong, water walks right in. Near the coast we now spec stainless steel or aluminum instead of galvanized, which simply doesn't survive the salt air.
Failed underlayment is the invisible killer described above — common on every older tile roof in the county and the reason tile roofs leak while the tile looks perfect. Once the membrane goes brittle, every seam and fastener penetration becomes an entry point at once.
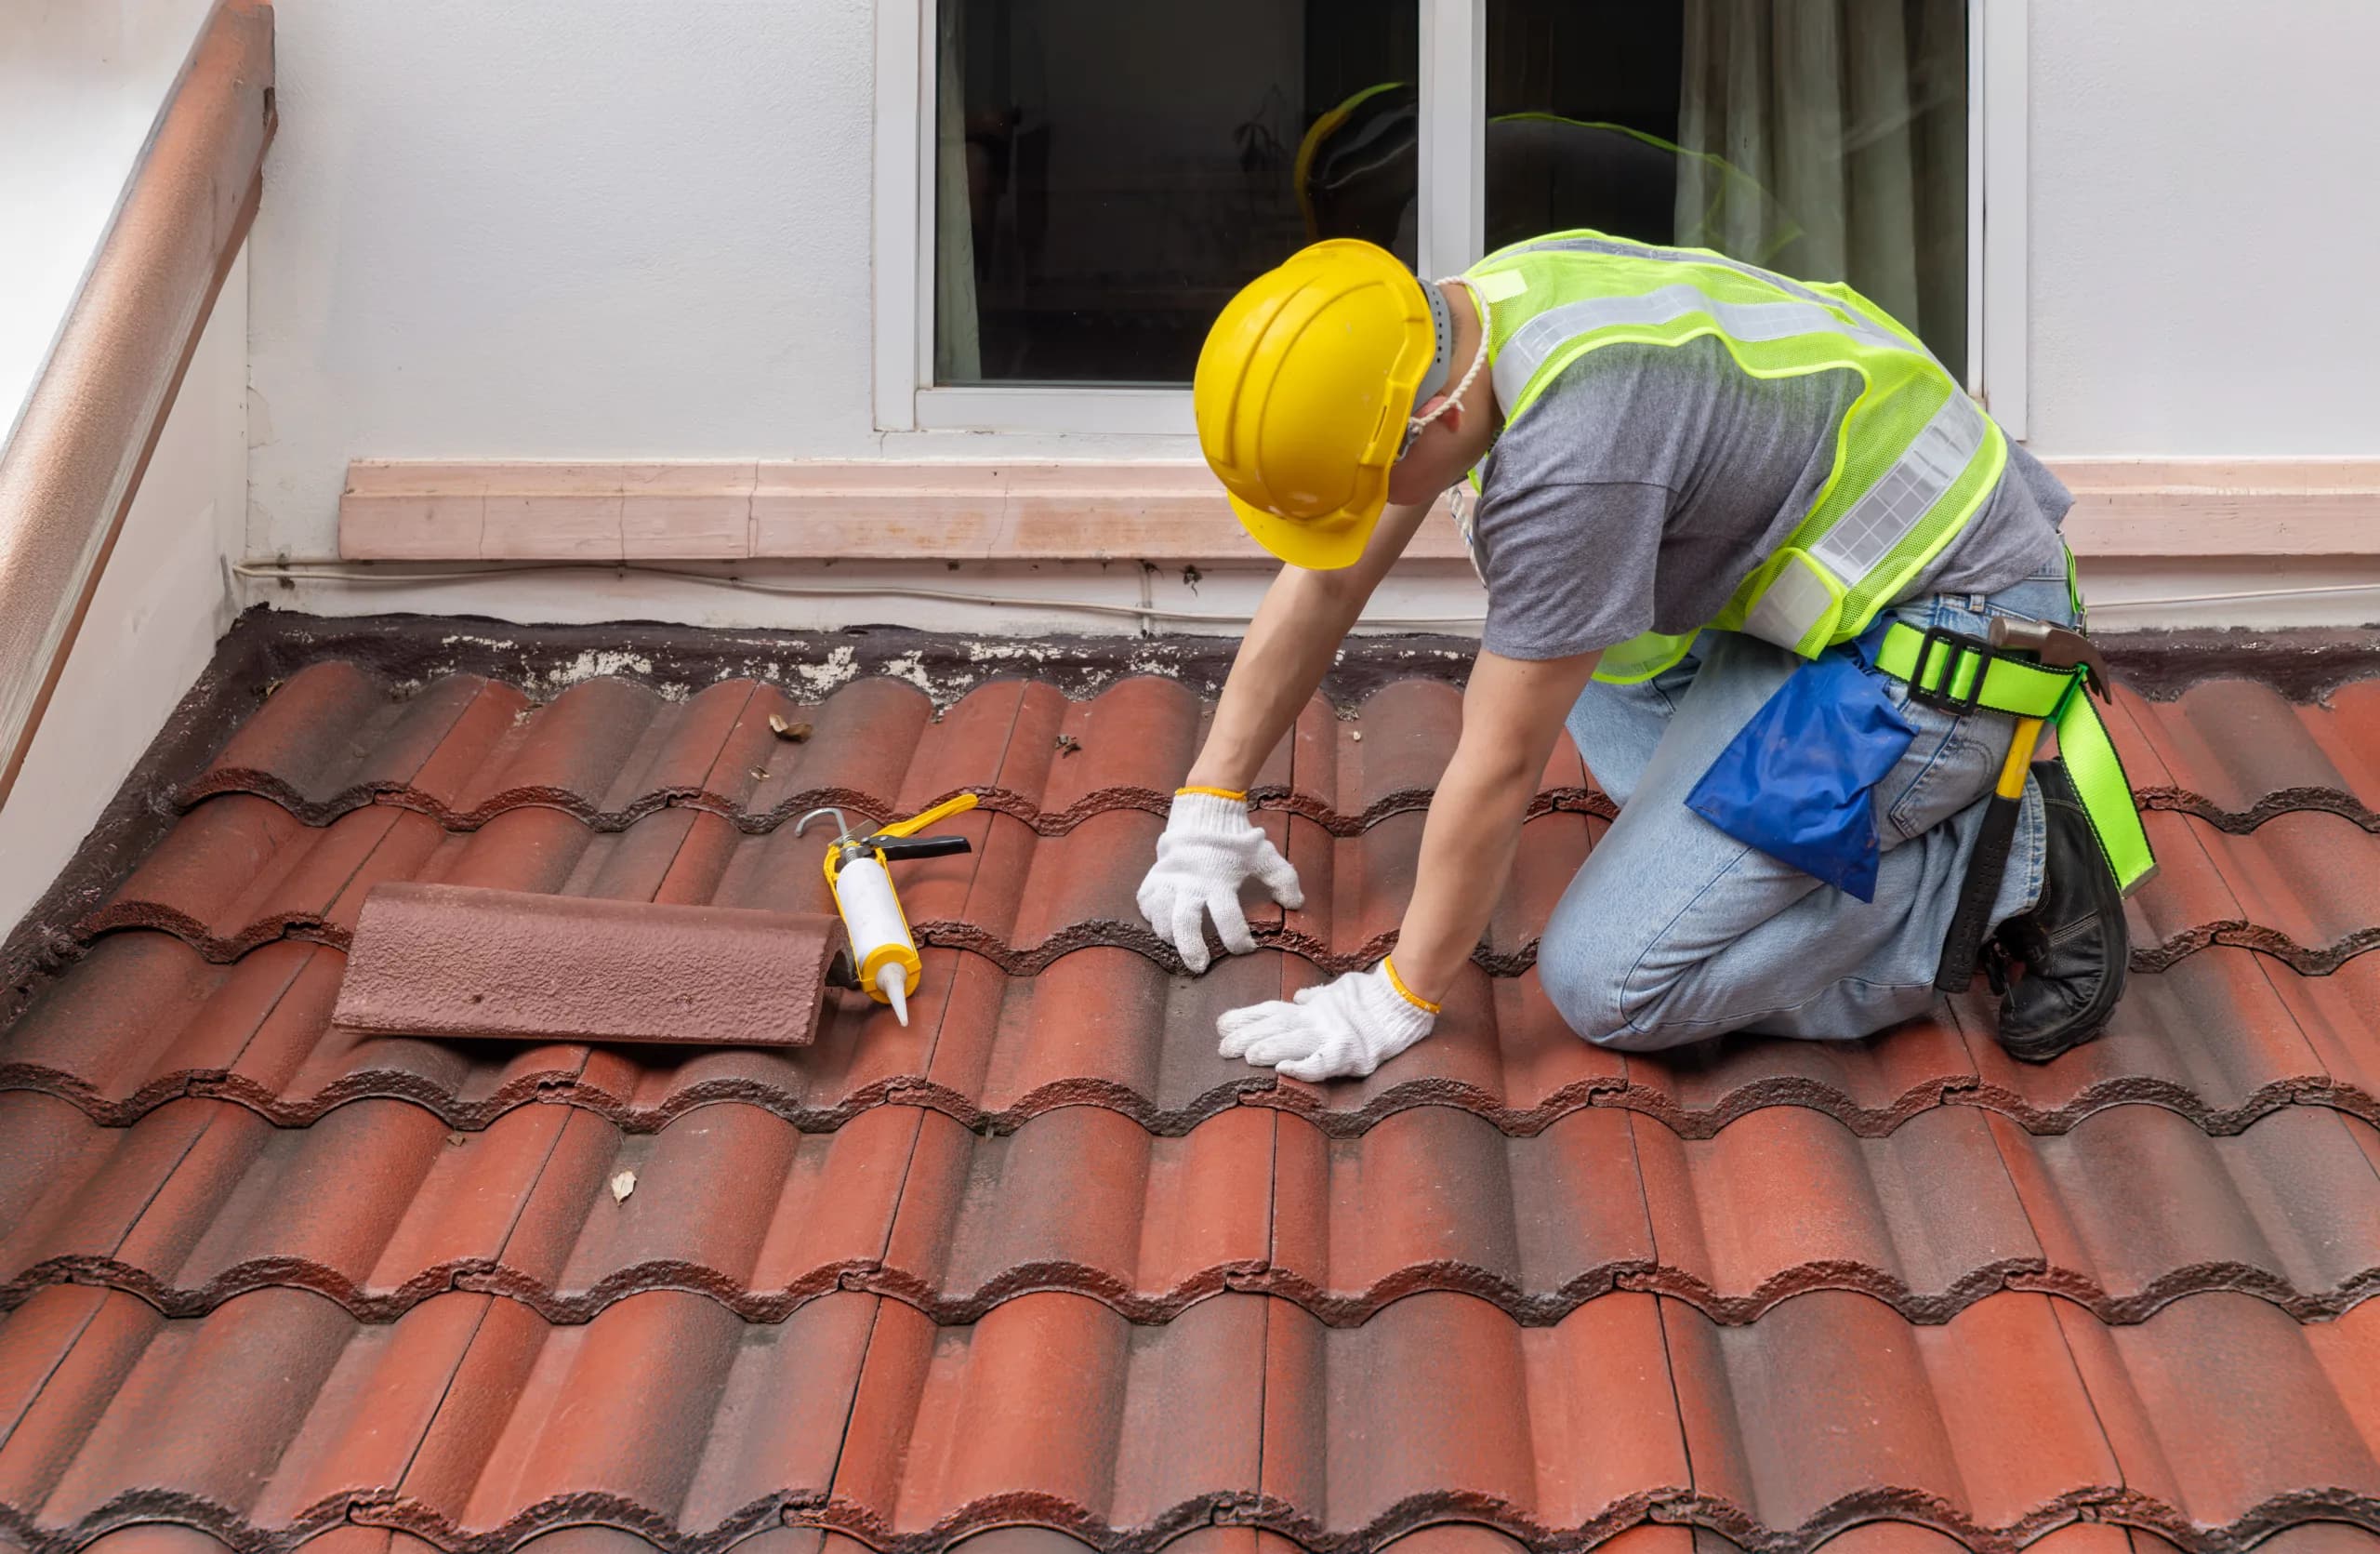
Cracked or slipped tiles expose the underlayment to direct UV, which then cracks and lets water through. A few broken tiles from foot traffic or a Santa Ana wind event are a fast, contained fix if caught early — and a slow disaster if ignored.
Pipe boot failures — the rubber collar around plumbing vents — are small and astonishingly common. San Diego sun destroys them in roughly 8 to 12 years, well before anything else gives out.
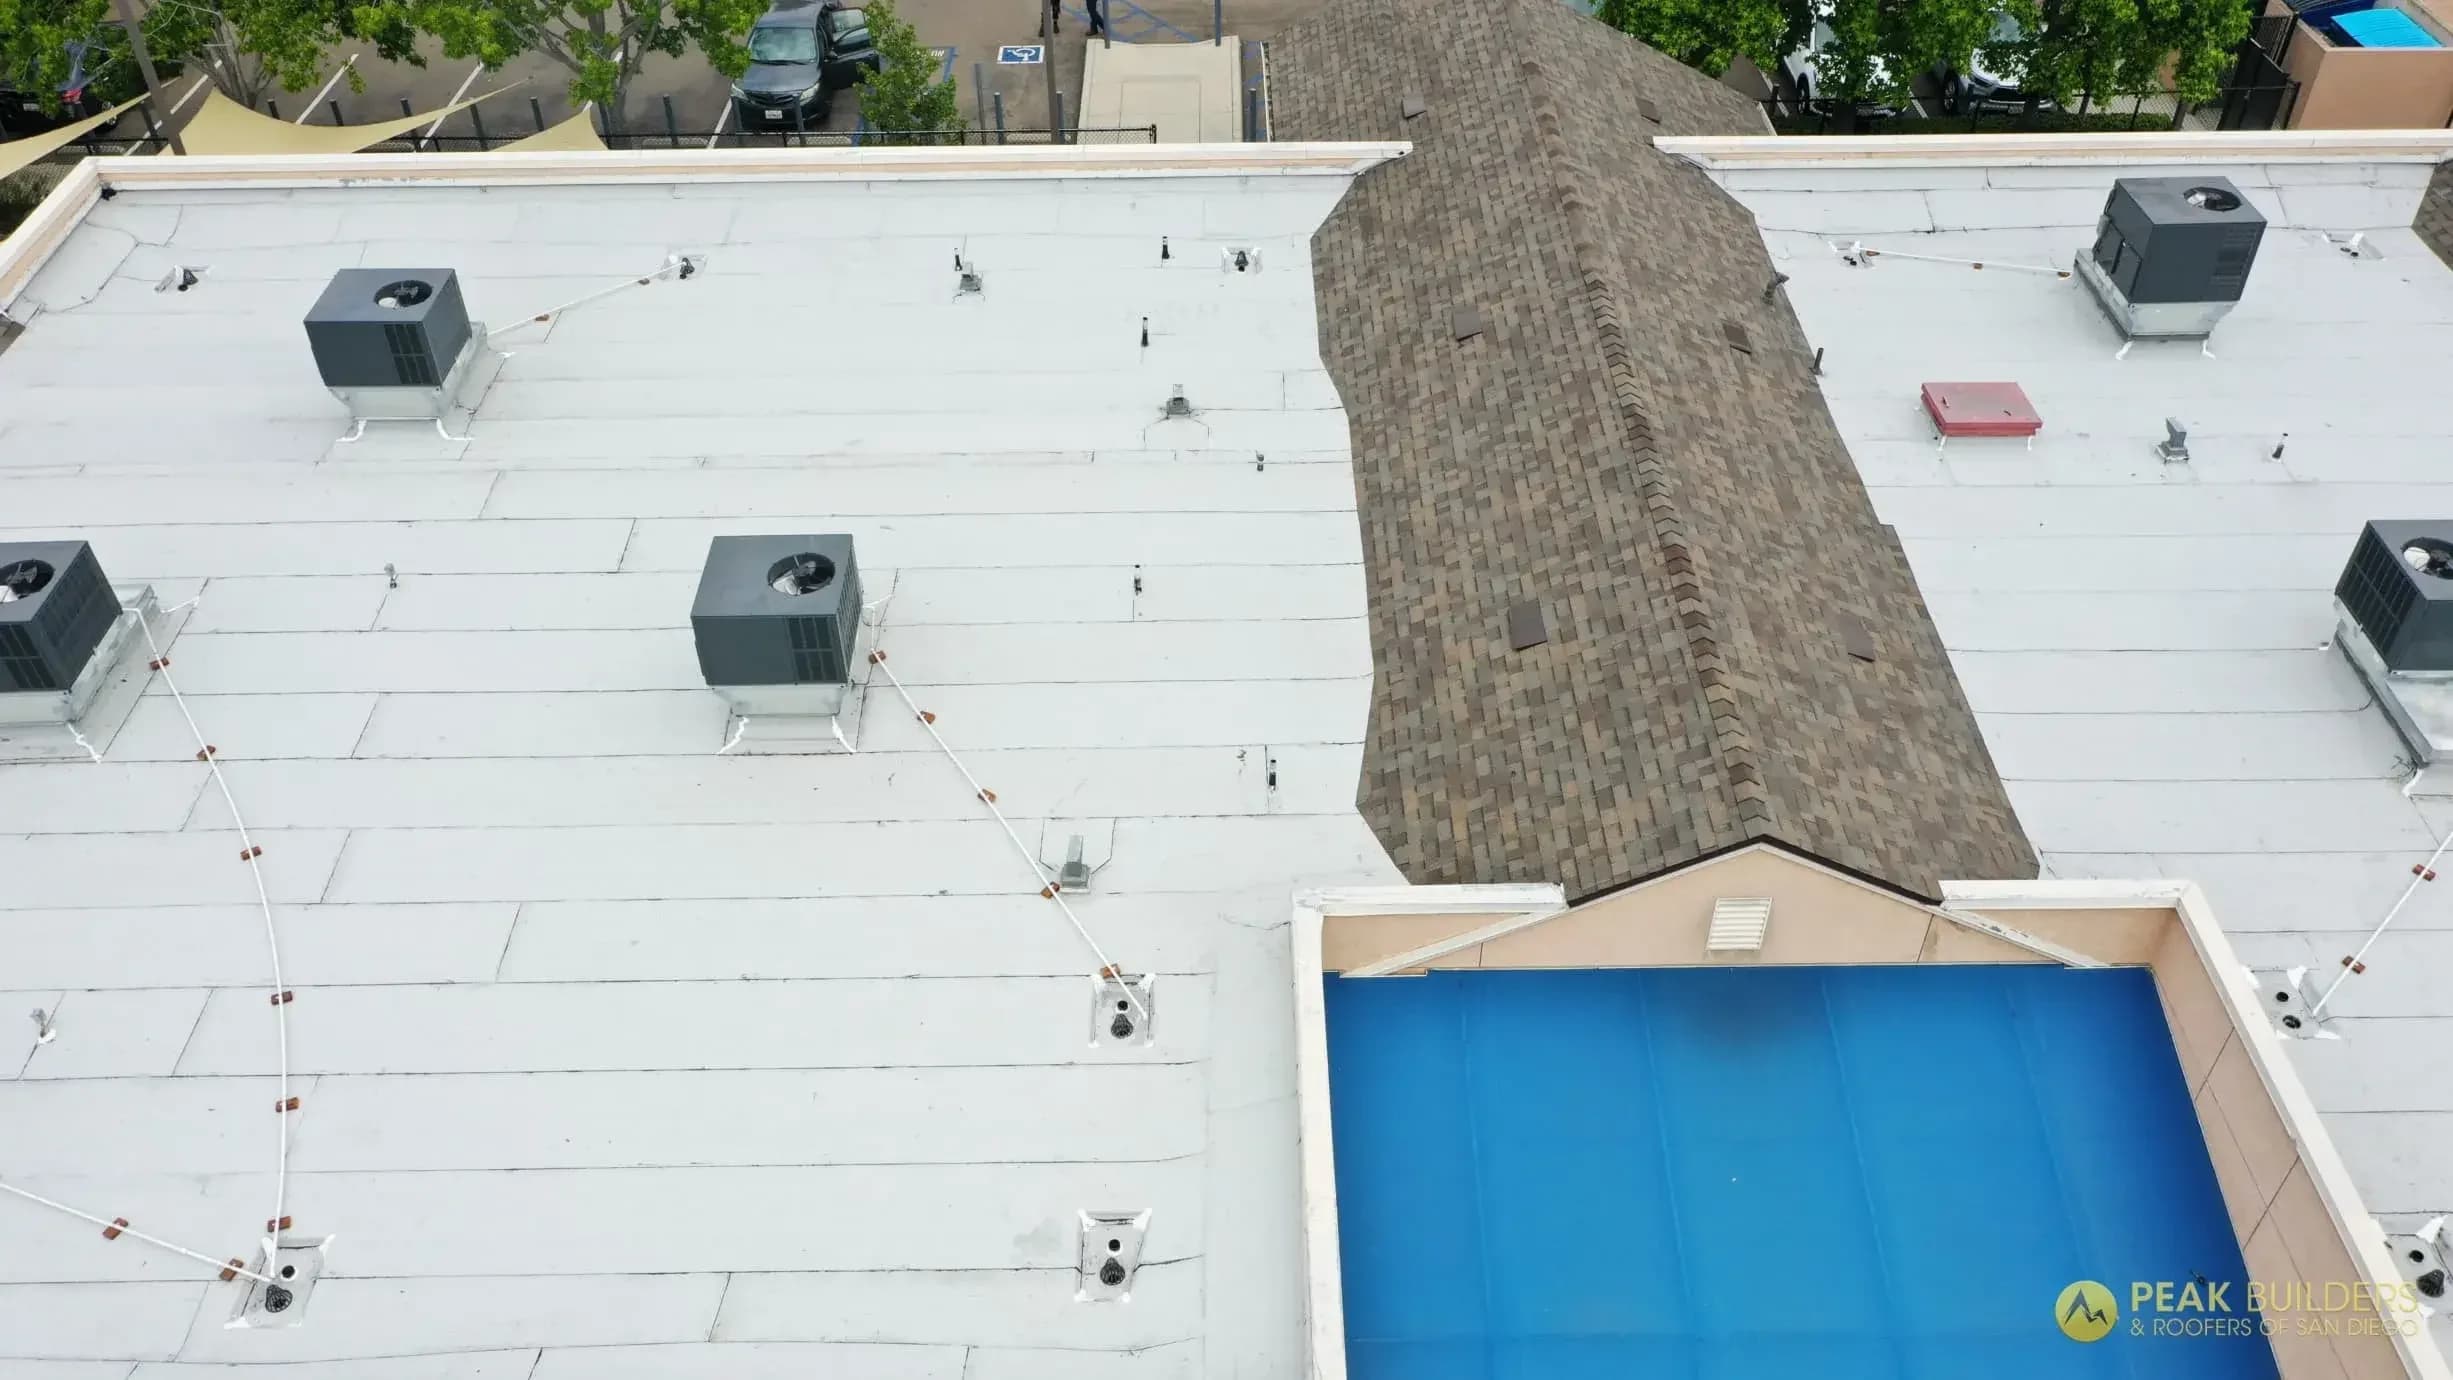
Ponding on flat and low-slope roofs — frequent in Mid-City, North Park, Hillcrest, and on flat roofing over additions and ADUs — keeps the membrane saturated for days, accelerating seam and blister failures on TPO, EPDM, and modified-bitumen systems.
How a Real Leak Repair Gets Done
A permanent repair starts with finding where water actually enters, which is often feet away from the ceiling stain because water travels along rafters and sheathing before it drops. That's why a real diagnosis — not a guess — is always the first step. We trace the path back to the true source, confirm it (sometimes with a controlled water test), and only then open the roof.
From there the work is material-specific. Tile roofs get matching tile and compatible underlayment installed at the correct overlap and headlap. Flat roofs get a membrane patch that's chemically compatible with the existing system — the wrong adhesive simply won't bond. Coastal flashing gets rebuilt in stainless or aluminum so the seal outlasts the next decade of marine air. When a roof is leaking mid-storm, a tarp or a dab of roof cement only buys time; it never addresses the source. Our storm damage restoration crew handles that emergency stabilization and then the permanent fix.
How to judge good repair work
A leak repair done right is invisible and durable. The signs of quality are concrete: flashing fastened and sealed at the correct laps rather than smeared over with caulk; replacement tile that matches profile and color; underlayment carried up walls and into valleys, not cut short; and old fasteners and debris removed rather than left under the new layer. If a repair relies on a thick bead of sealant doing the waterproofing, it's a temporary fix dressed up as a permanent one. Ask to see photos of the opened-up area before and after — a real diagnosis produces them.
Repair or Replace: A Condition Decision
Whether you patch or step up to a larger job comes down to the condition and age of the system, not a hunch. If the leak is one failed boot, a few cracked tiles, or a single corroded flashing on an otherwise sound roof, a targeted repair is the right call and will last for years.
The honest dividing line is the underlayment. If your tile roof's underlayment has reached 20 to 25 years, a patch buys a season or two, but you're patching a system that's at the end of its life everywhere at once — the next leak will surface a few feet from the last one. At that stage a lift-and-relay — removing the existing tile, installing new synthetic or self-adhered underlayment, and re-laying the same tile — is the real fix, because the tile itself still has decades of life left. We'll tell you honestly which side of that line you're on. See our roof repair and tile roofing pages for how we approach each, and our roof replacement page for when a full system makes sense.
Safety overrides everything else. Active leaking near electrical, sagging or spongy decking underfoot, daylight through the sheathing, or widespread mold are signals to stop patching and have the structure evaluated. Water that has run for months doesn't just stain drywall — it rots framing and feeds mold inside the assembly, and that's a condition problem, not a cosmetic one.
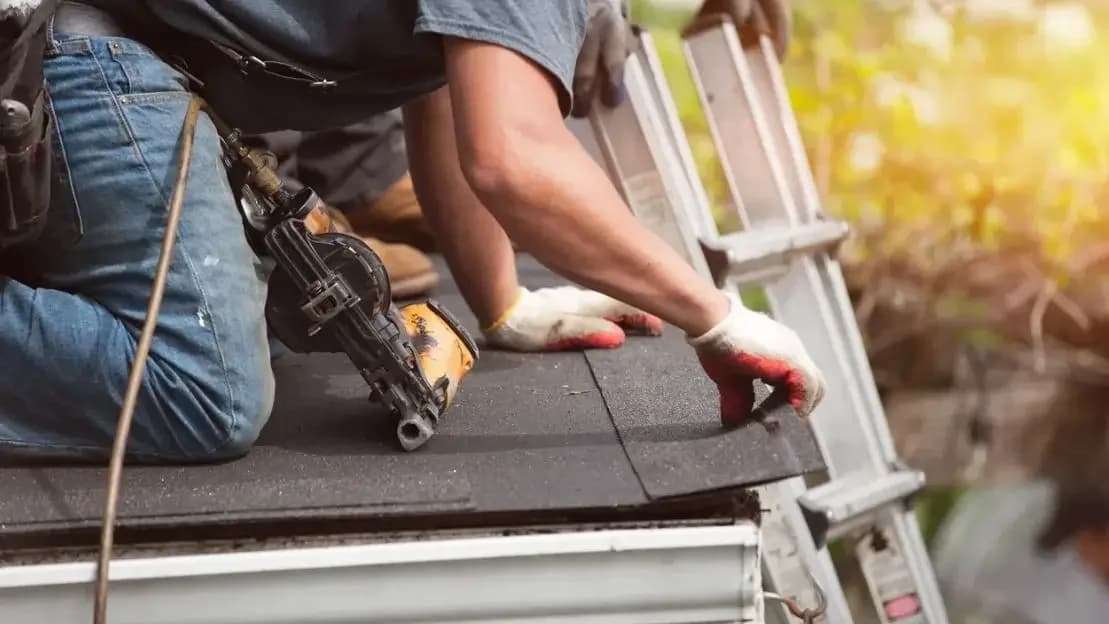
Materials That Last in the San Diego Climate
Material choice determines how long a repair holds. For asphalt-shingle homes we install architectural systems like GAF Timberline HDZ, Owens Corning Duration, and CertainTeed Landmark, which stand up to San Diego's UV load far better than the thin three-tab shingles they replaced. On tile, the upgrade that matters most is the hidden layer — modern synthetic or self-adhered (peel-and-stick) underlayment dramatically outlasts the old 30-pound felt.
Flat and low-slope sections get single-ply TPO or EPDM, or modified bitumen, matched to the existing assembly. Where homeowners want the longest-lived metal option, standing-seam panels run decades with minimal maintenance; see metal roofing. Near the coast, the single most important spec is corrosion-resistant flashing — stainless steel or aluminum — because the flashing fails first and takes the rest of the roof down with it. The same membrane logic applies at larger scale on our commercial roofing projects.
Code, Permits, and Title 24 in San Diego
A repair that crosses into a re-roof brings California energy code into the picture. The Title 24 cool-roof rules for Climate Zone 7 now reach further: the 2025 energy standards effective January 1, 2026 extend cool-roof requirements to steep-slope residential re-roofs. In the Wildland-Urban Interface (WUI) fire zones that ring much of the county, Class A fire-rated assemblies and ember-resistant vents are required — a real consideration during Santa Ana wind and ember events. And near the water, work may need City of San Diego, County, or California Coastal Commission permits. We handle that paperwork so the roof passes inspection the first time.
Preventing the Next Leak
Prevention in San Diego spares you the far larger damage a hidden leak causes. An annual inspection — plus one after any major wind or rain event — is the highest-return roofing habit you can build. Beyond that:
- Clean gutters twice a year; a clogged system backs water under the eaves. Upgrade undersized or rusted runs with proper gutter installation.
- Trim branches overhanging the roof — they drop debris and scuff tiles in Santa Ana winds.
- Replace pipe boots on schedule (every 8 to 12 years here), not after they leak.
- Don't let water pond on a flat roof more than 48 hours after a storm clears.
- Track your underlayment age. On a tile roof, plan the re-felt at 20 to 25 years even though the tile looks new — that one habit prevents more leaks than anything else in this county.
Work With Peak Builders
Peak Builders & Roofers of San Diego has fixed leaks on over 5,000 roofs since 1999. We hold CSLB license #1008986, carry a 4.9-star rating across 230+ reviews and a BBB A+ rating, and are GAF Master Elite and Owens Corning Platinum Preferred — credentials that let us back our installs with manufacturer system warranties most contractors can't offer. We work across La Jolla, Carlsbad, Encinitas, Del Mar, Coronado, Chula Vista, Poway, Point Loma, Escondido, El Cajon, Oceanside, Rancho Santa Fe, Scripps Ranch, and Santee. Browse all roofing services or meet the San Diego roofers.
Call (619) 330-8185 or request a free, no-obligation inspection before the next storm finds the leak for you.
Frequently Asked Questions
Why is my tile roof leaking when the tiles look perfect?
Because the tile isn't what waterproofs your roof — the underlayment beneath it is, and on San Diego tile roofs that felt typically fails at 20 to 25 years while the tile lasts 50 years or more. We see flawless original tile over crumbling underlayment constantly. The fix is usually a re-felt or a lift-and-relay, not new tile.
Can I just patch the leak, or do I need a bigger job?
It depends on condition, not guesswork. If the leak is one bad boot, a few cracked tiles, or a corroded flashing on a sound roof, a targeted repair is the right call. If your underlayment has reached the end of its life, a patch only fails again next season — that's when a lift-and-relay or replacement makes sense. A proper inspection tells you which it is.
Should coastal San Diego homes use special flashing?
Yes. Within a mile or two of the water in Point Loma, Coronado, Del Mar, or Encinitas, salt air corrodes galvanized flashing years early. We spec stainless steel or aluminum flashing on coastal homes so the seal outlasts the next decade of marine air.
How do I get my roof leak looked at?
Call (619) 330-8185 or request a free, no-obligation inspection and quote. We'll trace the leak to its true source, show you what we find, and tell you honestly whether it's a repair or something larger.