Your San Diego Roof Installation: A Start-to-Finish Guide
A San Diego roof installation runs four to eight weeks from first inspection to final permit sign-off, with the on-roof work itself usually finishing in one to five days depending on whether you have asphalt shingles or clay tile. Most of that timeline is paperwork and scheduling, not hammering — the permit, the scope review, and material lead times stretch the calendar. Below is how a roof replacement unfolds here, stage by stage, with the local details — tile underlayment, coastal flashing, the new Title 24 cool-roof rule — that change the decisions along the way.
Start with an honest inspection, not a sales pitch
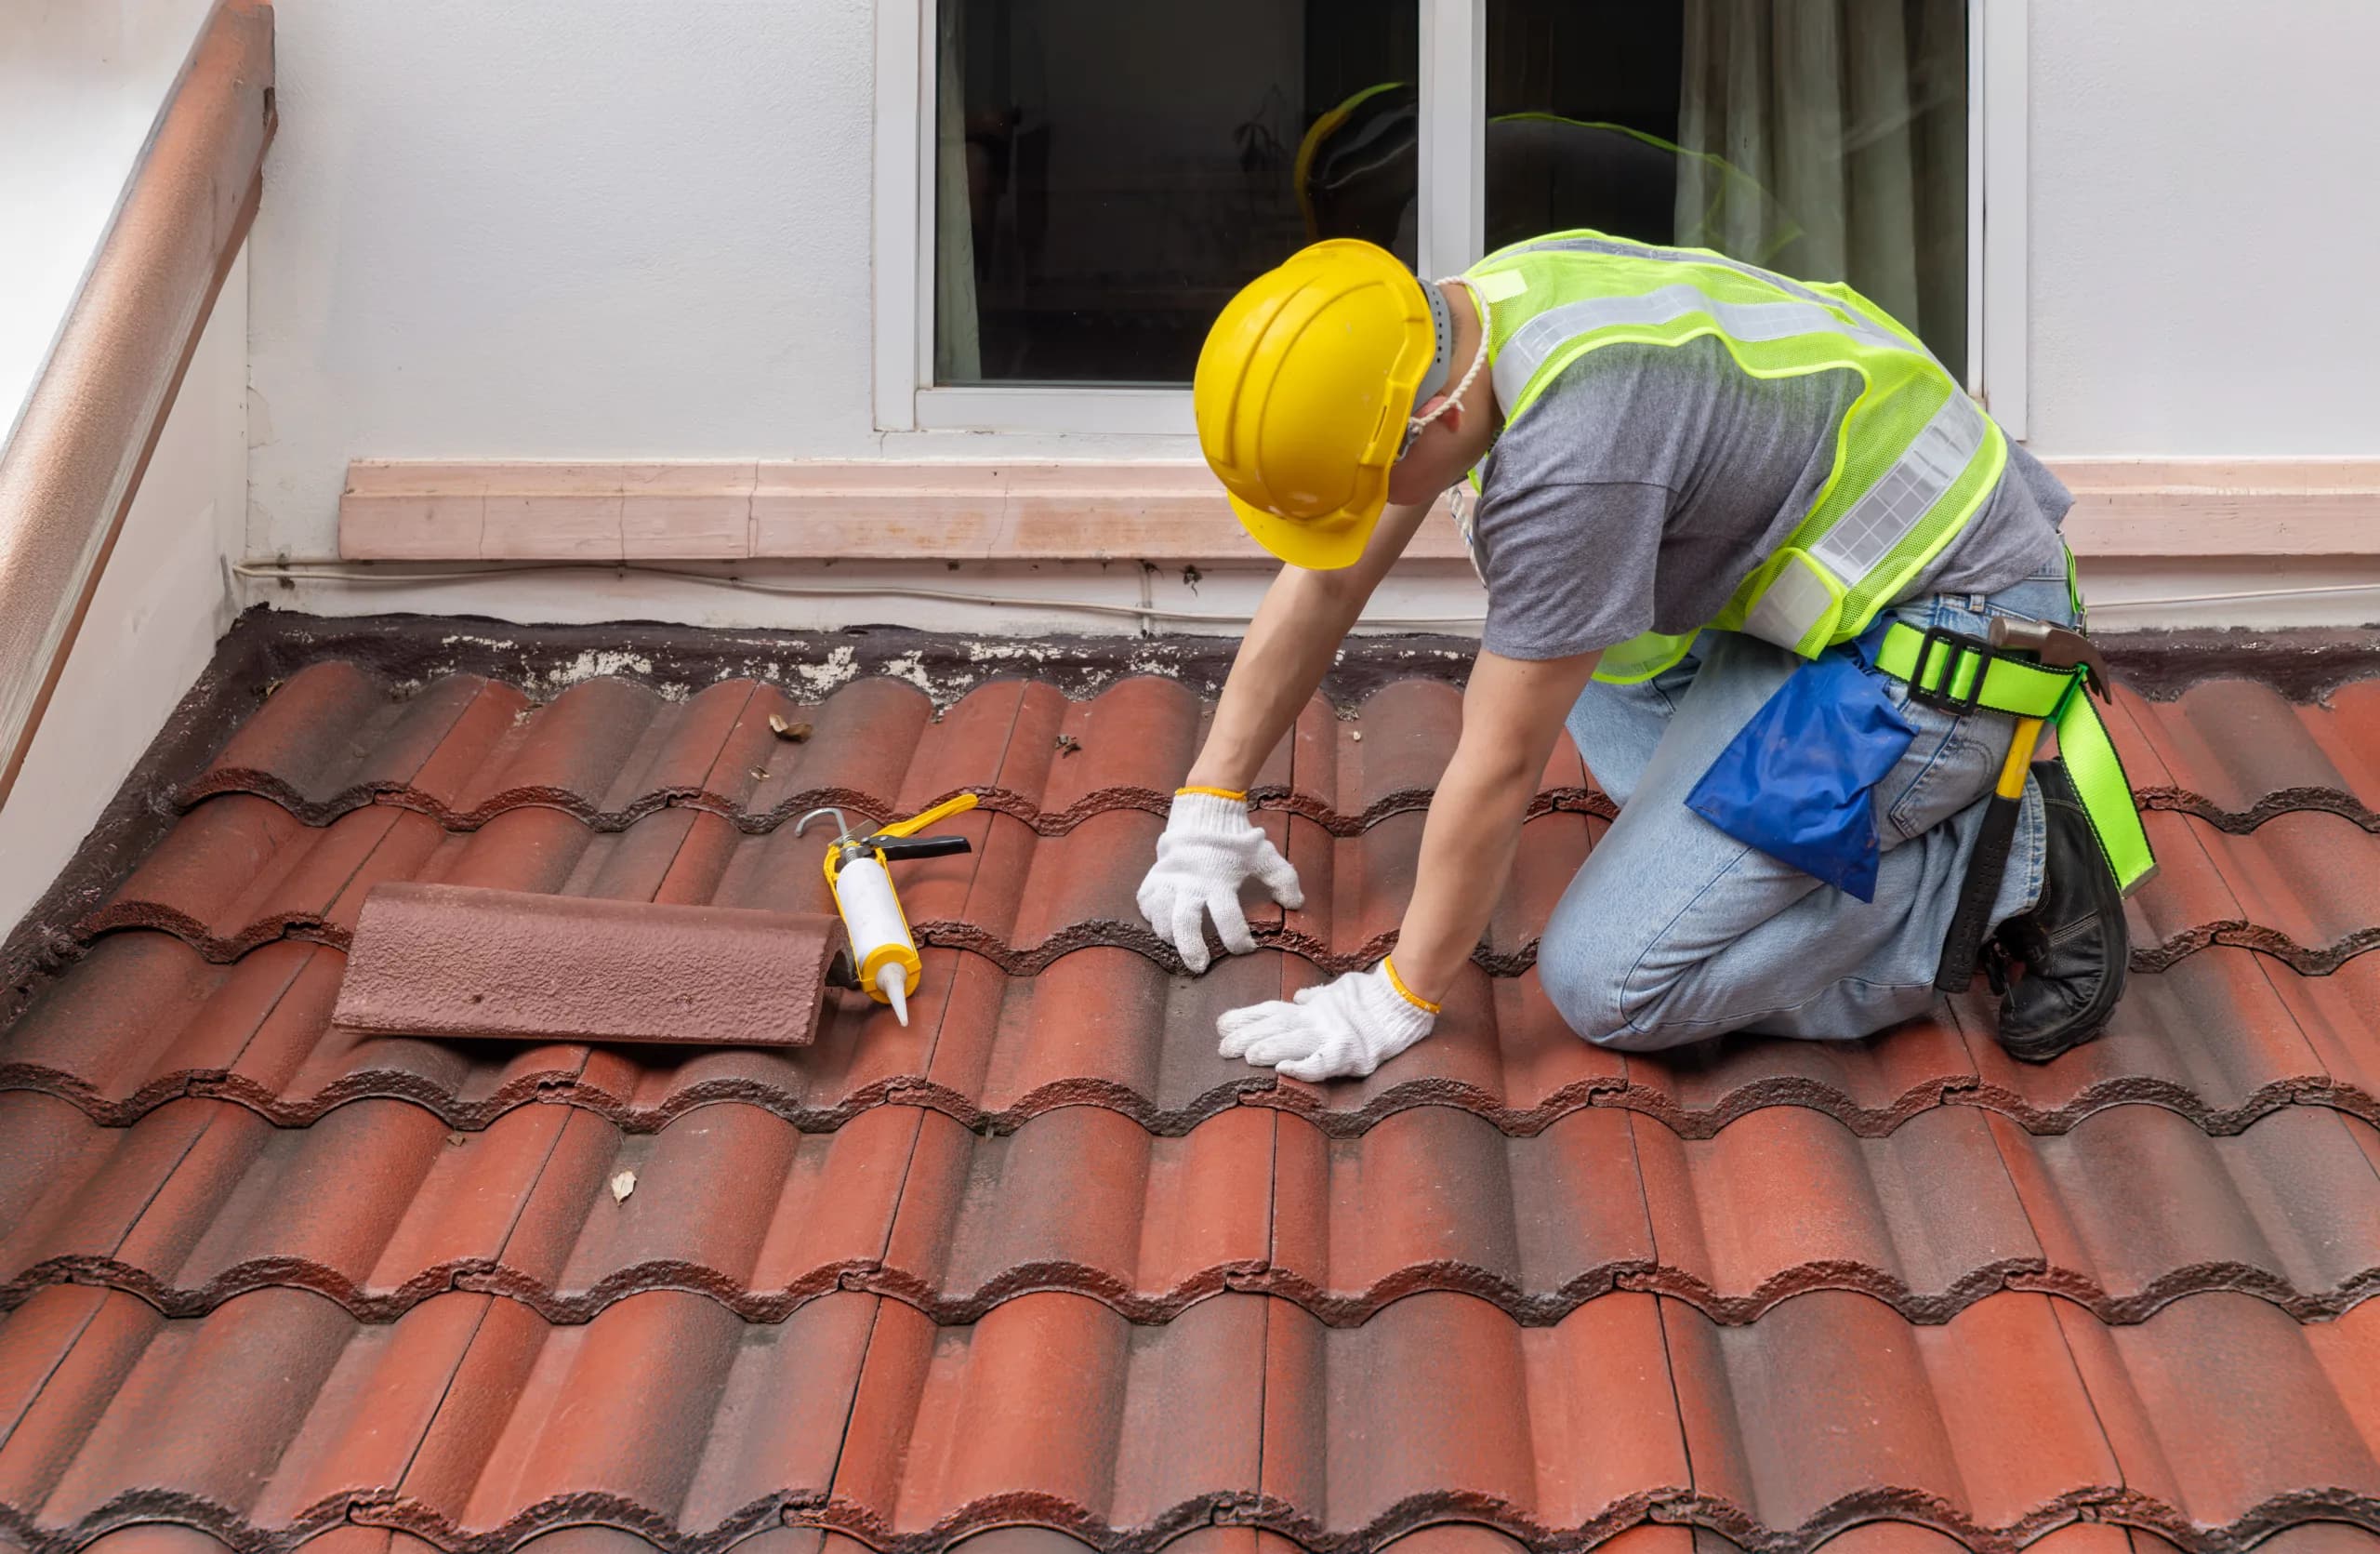
Before anything else, get the roof looked at by someone who isn't paid only when you buy a new roof. A real roof inspection means walking the field, checking flashing at every penetration and wall, reading the attic from the underside for moisture staining, and giving you a defensible opinion on remaining service life. On a 1920s tile roof in Kensington or a Spanish-Mediterranean home in Point Loma, we routinely find tiles that look perfect and have another two or three decades in them — sitting on underlayment that died years ago.
That is the single most misunderstood fact about San Diego roofing: clay and concrete tile last 50-plus years, but the felt or synthetic underlayment beneath it is the actual waterproof layer, and it fails at roughly 20 to 25 years. When a tile roof leaks, the tile is usually fine; the membrane underneath is shot. A good inspector tells you that instead of pushing a teardown you don't need — sometimes the right answer is a targeted roof repair.
Expect one to three days to get on the schedule, an hour or two on site, and a written report shortly after. We've worked across San Diego County since 1999, with more than 5,000 local roofs behind us and a 4.9-star average from 230-plus reviews, A+ with the BBB.
Decide repair or replacement on condition, not guesswork
Whether you re-roof or restore comes down to the roof's age, the extent of the damage, and safety — not a coin flip. Replacement is genuinely warranted when the waterproof layer has failed broadly: underlayment past its 20-to-25-year window with repeat leaks, widespread deck moisture, large areas of cracked or slipped tile, or shingle fields that are brittle, bald, and shedding granules. Localized problems — a few broken tiles, flashing pulling away at one wall, a single leak over a known penetration — usually call for repair, not a full system.
The honest test is whether the failure is isolated or systemic. If the membrane is sound and the damage is confined to one slope or one detail, repair buys real years; if the underlayment is at end of life everywhere, patching one leak just moves the next a few feet over. After an atmospheric-river winter or a Santa Ana wind event, that distinction is what a thorough inspection is for.
Compare scope, not just the summary line
Once replacement is genuinely warranted, collect at least three written, itemized proposals and read the scope, not just the summary — that's where the real differences live. Each contractor should measure on site rather than work off satellite imagery, because hips, valleys, dormers, and steep pitch all drive the work. A proposal you can actually trust spells out:
- The exact product and line — GAF Timberline HDZ, Owens Corning Duration, or CertainTeed Landmark for shingles; the tile profile and whether tiles are reused or new
- Squares of coverage (a square is 100 square feet) so quantities are checkable
- Underlayment type and weight — synthetic versus 30-lb felt is not a small difference
- Whether all flashing is replaced and in what metal (this matters enormously near the coast)
- How deck repairs are handled if rot is found once the old roof is off, plus permit handling and warranty terms
A proposal that quietly reuses old flashing or substitutes felt for synthetic isn't equivalent work — it's a different, shorter-lived roof. Confirm the contractor's license; ours is CSLB #1008986. Manufacturer credentials matter too, because the strongest warranties are tied to them: as a GAF Master Elite and Owens Corning Platinum Preferred contractor, Peak Builders can register system warranties that non-certified roofers cannot offer. Give yourself one to two weeks here.
To put real specifics on the things that matter — squares, pitch, deck condition, code requirements — request a free, no-obligation inspection and quote, or call (619) 330-8185. We measure on site and put the full scope in writing.
Judging materials by how long they protect you
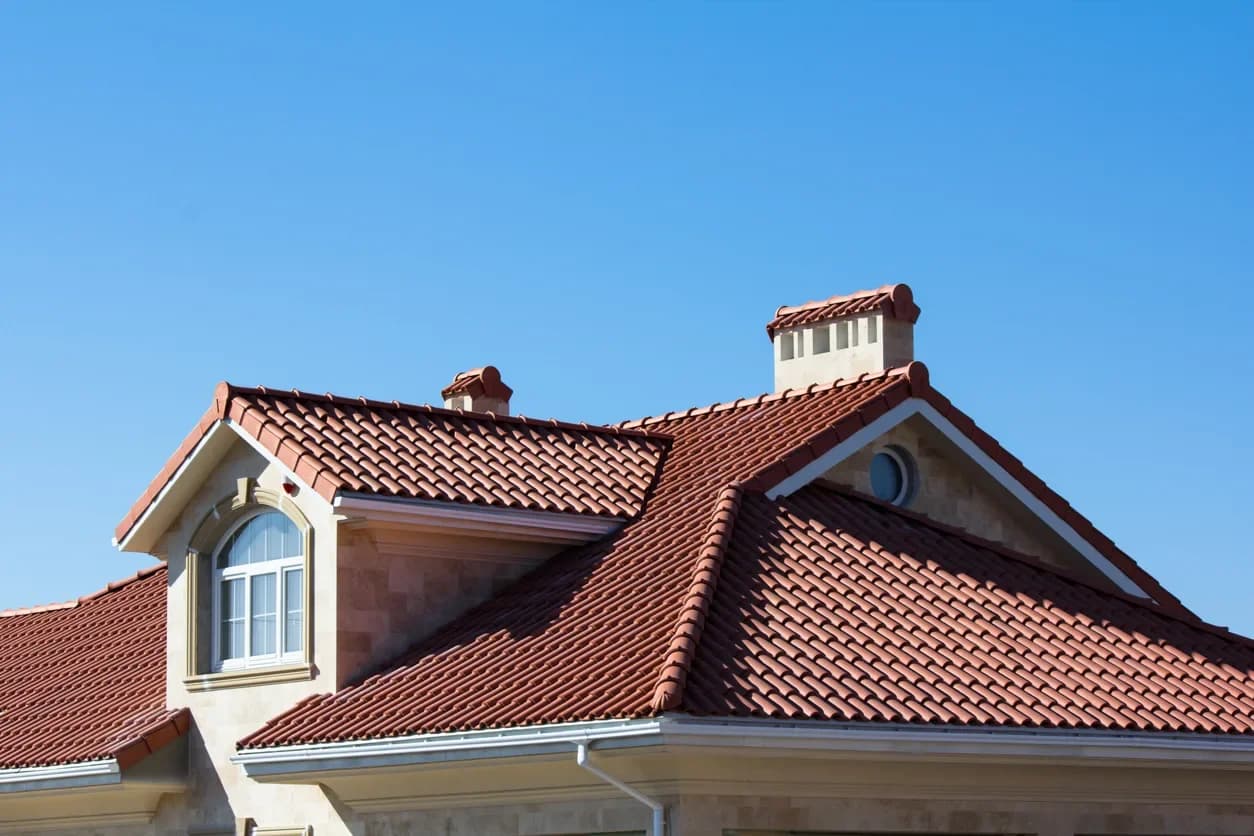
The right system depends on your home, your slope, and how long you want it to last. Architectural asphalt shingles — GAF Timberline HDZ, Owens Corning Duration, CertainTeed Landmark — typically protect a home for 25 to 30 years. Concrete and clay tile roofing carries the field for 50-plus years, so the decision there is really about the underlayment cycle beneath the tile. Standing-seam metal roofing routinely runs 40 to 70 years, sheds embers well, and resists UV better than most assemblies. Low-slope and flat roofing sections use TPO, EPDM, or modified bitumen, each lasting 20 to 30 years when detailed correctly.
Judge a material by its rated lifespan in years, its fire rating, its UV and corrosion resistance, and how well it's installed — not by the label on the bundle. A thin underlayment under premium tile is a 20-year roof wearing a 50-year hat.
Contract, permit, and getting your home ready
After you choose a contractor you'll sign a contract and set dates. We pull the building permit — through the City of San Diego, the County, or, for homes near the water in La Jolla, Del Mar, Coronado, or Encinitas, sometimes within Coastal Commission jurisdiction, which adds review time. Permitting typically takes three to ten business days but is the single biggest swing factor in your timeline.
This is also where San Diego's building code shapes the spec. Under California Title 24, Climate Zone 7, the 2025 energy standards that took effect January 1, 2026 newly extend cool-roof requirements to steep-slope residential re-roofs — so the color and solar-reflectance rating of your shingles or tile now have to clear a code threshold they didn't a year ago. In the county's Wildland-Urban Interface zones (Scripps Ranch, Poway, Rancho Santa Fe, the inland-canyon edges), the assembly must be Class A fire-rated with ember-resistant vents — a real concern given our Santa Ana wind and ember events. We build these requirements into the spec so there's no mid-project surprise.
On your end before start day: clear the attic of anything fragile, because nail guns vibrate the whole structure; move vehicles off the driveway; secure pets indoors; and plan for one to four days of genuine noise.
Tear-off, deck, and the details that fail first in San Diego
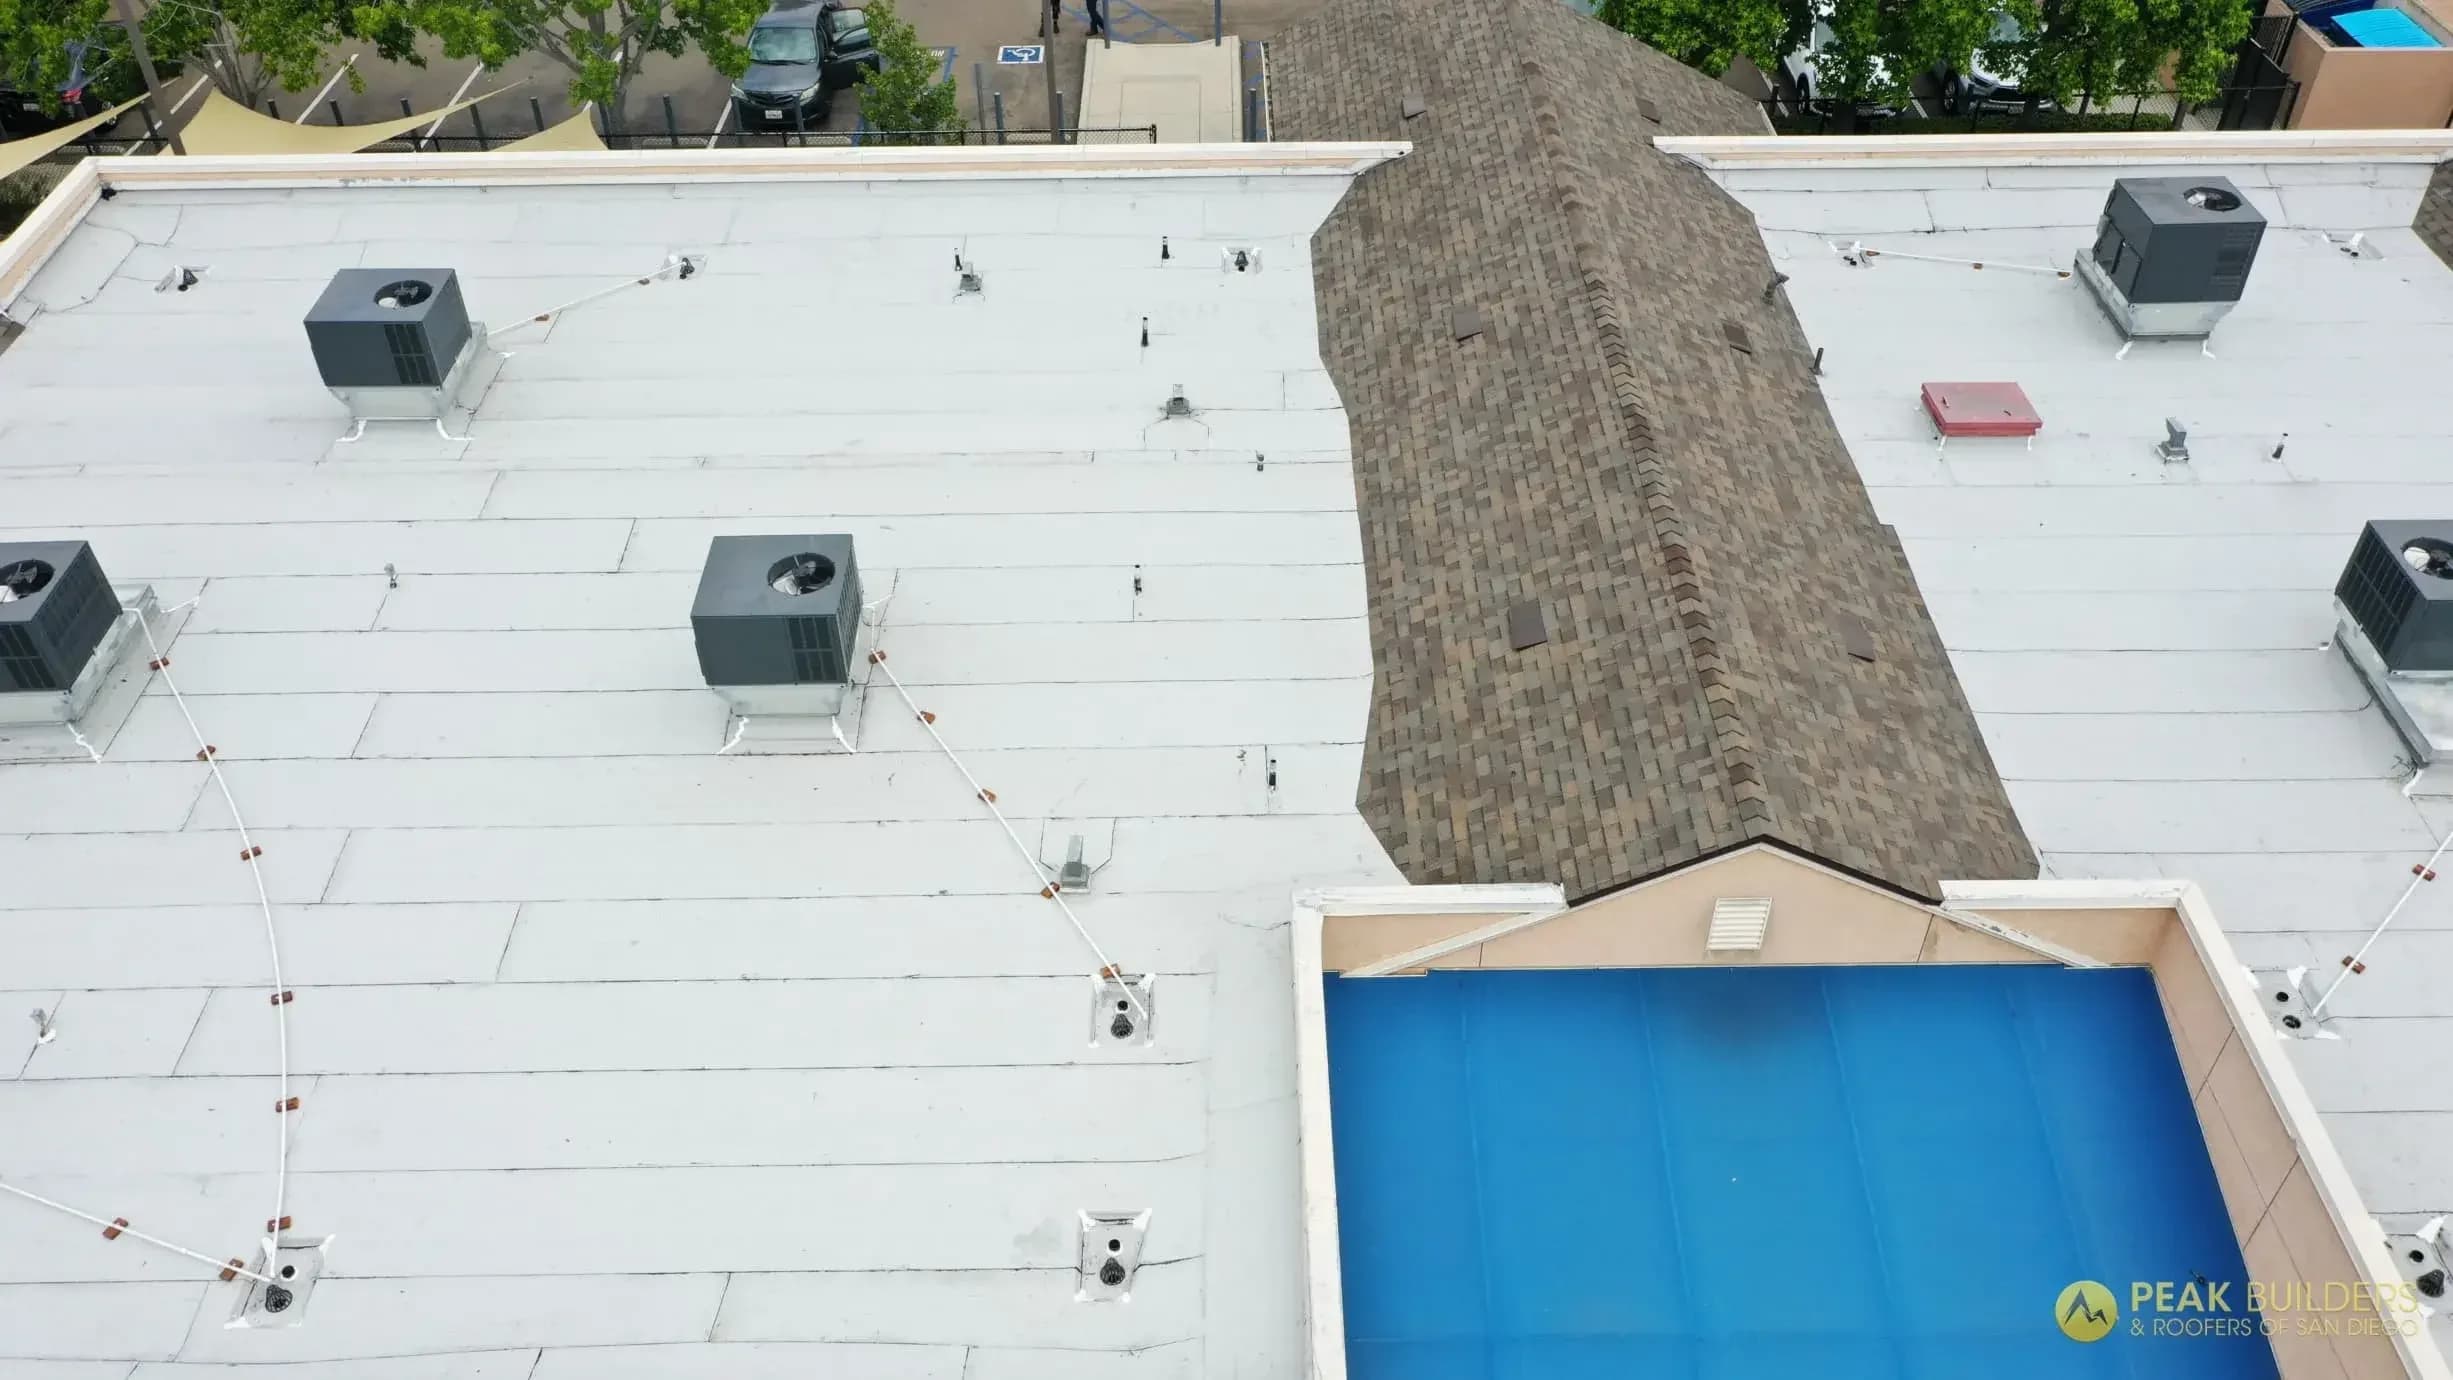
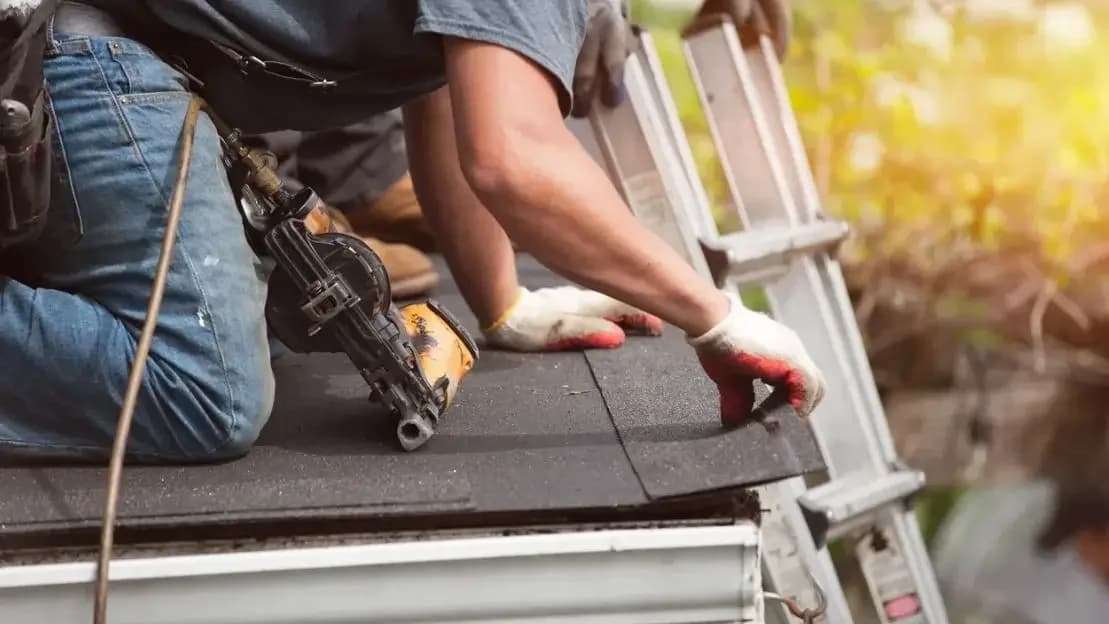
Installation begins with tear-off — stripping the old roof to the bare deck, the loudest day of the job. Crews stage a dumpster, tarp the perimeter to protect landscaping, and strip shingles, underlayment, and old flashing. Then the deck gets read. If we find dry rot — common on north-facing slopes where San Diego's marine layer keeps sheathing damp and mold-prone — we show you the damage and get sign-off before replacing plywood.
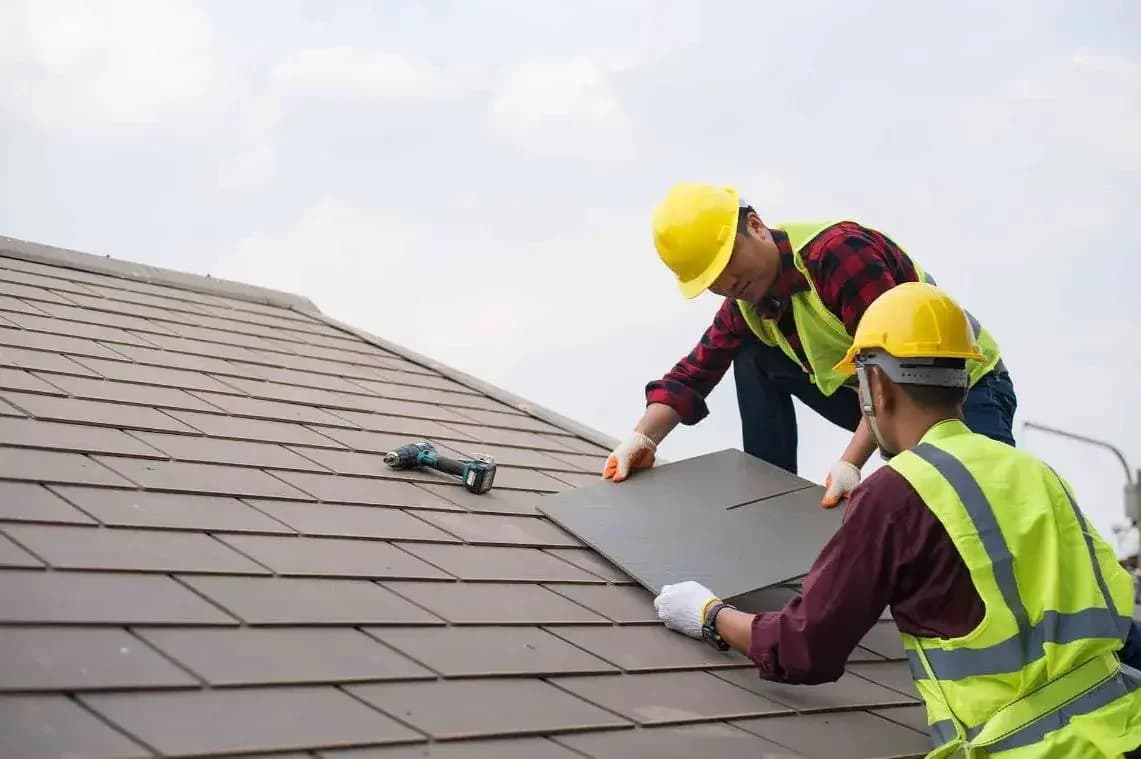
With a sound deck, the new system goes down in order: underlayment across the entire deck (the layer that actually keeps water out, especially critical under tile); drip edge and metal flashing at edges, valleys, walls, and every penetration; the field material — shingles eave-to-ridge, or tile set on battens or mortar; then ridge caps, closures, and finish details.
Two coastal specifics drive the metal choices. Within a mile or so of the water — Coronado, Ocean Beach, the La Jolla bluffs — galvanized flashing corrodes fast in salt air, so we spec stainless or aluminum flashing and fasteners instead. Our intense year-round UV also bakes exposed sealants and underlayment, which is why thin felt and bargain flashing don't reach their rated life here. While the roof is open is also the right moment to address tie-ins like new gutter installation so edge metal, drip edge, and gutters integrate cleanly rather than getting retrofitted later. Architectural shingles on a 2,000-square-foot home typically install in one to two days; tile is slower and heavier, so plan three to five. Flat and commercial roofing membranes vary with detailing and rooftop equipment.
Cleanup, inspection, and the paperwork that protects you
Good crews finish with a full debris haul-off and run magnetic rollers across the lawn, driveway, and beds to pull stray nails. Walk the perimeter yourself, eyeball the field from the ground for straight courses and tight flashing, and check the attic for any daylight. Then the city building inspector reviews the work to close the permit — independent confirmation the assembly meets code.
Keep every document: the signed permit and inspection card, your manufacturer warranty registered in your name, the written workmanship warranty, and maintenance notes. That manufacturer warranty transfers to a future buyer — and San Diego buyers ask for it. After an atmospheric-river winter or a wind event, that documentation is also what makes any future claim straightforward.
A simple maintenance rhythm keeps the roof at its rated life: a ground-level look after major storms, clear gutters and valleys before the winter rains, and watch north-facing slopes for marine-layer moss. From first look to final sign-off, the whole project runs four to eight weeks. To start with a straight inspection from a contractor who's installed roofs across San Diego since 1999, call (619) 330-8185 or reach us through our contact page.
Frequently Asked Questions
How long does a roof replacement actually take in San Diego?
The on-roof work is fast — one to two days for asphalt shingles on an average home, three to five for tile. The full project, including inspection, scope review, permitting, and material delivery, typically runs four to eight weeks. The building permit (City, County, or a coastal jurisdiction near the water) is the most common source of delay.
My tiles look perfect but my roof leaks — do I need a whole new roof?
Usually not a whole new roof's worth of tile. San Diego tile lasts 50-plus years, but the underlayment beneath it — the actual waterproofing — fails at about 20 to 25 years. The common fix is a "re-felt": lift and stack the existing tile, install new underlayment and flashing, then relay the tile. You keep the tile and get another two decades of watertight life.
Does the new 2026 Title 24 cool-roof rule apply to my re-roof?
For most San Diego homes in Climate Zone 7, yes — the 2025 standards effective January 1, 2026 extended cool-roof reflectance requirements to steep-slope residential re-roofs for the first time. In practice it shapes the color and rated reflectance of your shingles or tile. We factor compliance into the spec so the permit closes without a fight.
Why does flashing material matter so much near the coast?
Salt air corrodes standard galvanized steel quickly. Within roughly a mile of the water in Coronado, La Jolla, or Point Loma, we spec stainless or aluminum flashing and fasteners so the leak-prone details — valleys, walls, and penetrations — outlast the field material instead of rusting out early.