Tile Roof Repair in San Diego: Keeping Your Roof Watertight
Most San Diego tile roofs that leak don't need new tile — they need new underlayment. The clay or concrete tile you see from the street can easily last 50 years or more, but the felt or synthetic membrane underneath it — the layer that actually keeps water out — typically fails at 20 to 25 years. That single fact explains why so many homeowners stare at a perfectly intact tile field while a ceiling stain spreads in the bedroom below. Tile roof repair in San Diego is really underlayment, flashing, and mortar work performed by crews who know how to walk a brittle roof without cracking it.
We've worked on more than 5,000 San Diego roofs since 1999, and the tile calls follow a pattern: the tile looks fine, the leak is real, and the right fix depends on the condition of what's hidden beneath, not the tile itself.
Why Tile Leaks Where the Tile Is Fine
A tile roof is a two-layer system. The tile is the rain shield and the UV armor; the underlayment is the true waterproofing. Water routinely gets past tile — driven under the laps by Santa Ana winds, wicking up at the eaves during an atmospheric-river storm, sneaking through a hairline crack — and the underlayment carries that water back down to the gutter. When the membrane is sound, the system is watertight even with a few imperfect tiles. When it's gone brittle and cracked, every one of those normal intrusions becomes a leak.
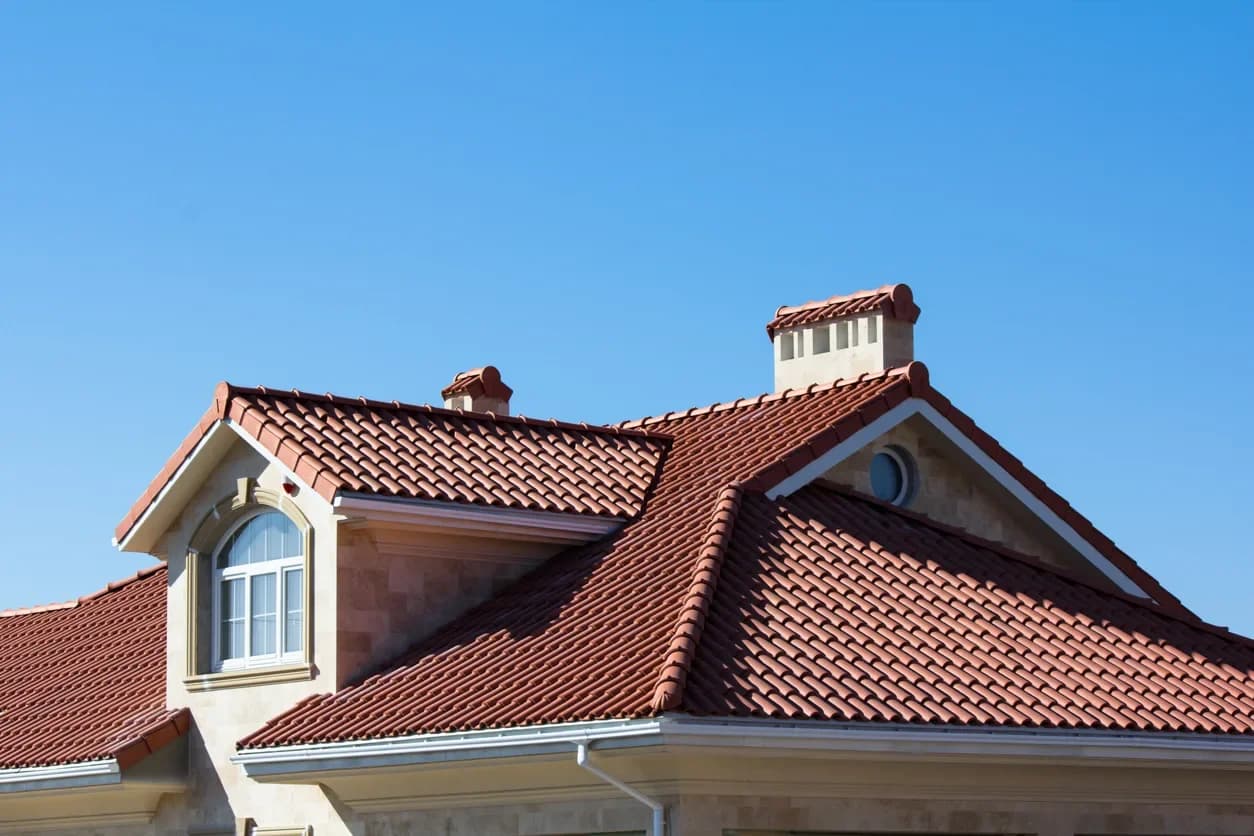
San Diego's tile stock is overwhelmingly Spanish and Mediterranean — barrel mission tile and flat concrete profiles on homes from the 1920s bungalows of Kensington and Mission Hills to the 1990s tracts of Scripps Ranch and Poway. Much of that housing is now decades past its last underlayment. On a 1990s concrete-tile roof in Rancho Santa Fe, we routinely lift a few field tiles and find the original 30-pound felt cracking like a dried leaf in our hands. The tile has another 25 years in it. The paper is done.
Diagnosis matters more on tile than on any other roof. Because water travels along the underlayment before it drips through, the interior stain is often six to ten feet from the actual entry point. Finding the true source means a systematic roof inspection — lifting tile in representative areas and reading the membrane — not guessing and swapping tile near the stain.
The San Diego Conditions That Drive Tile Repairs
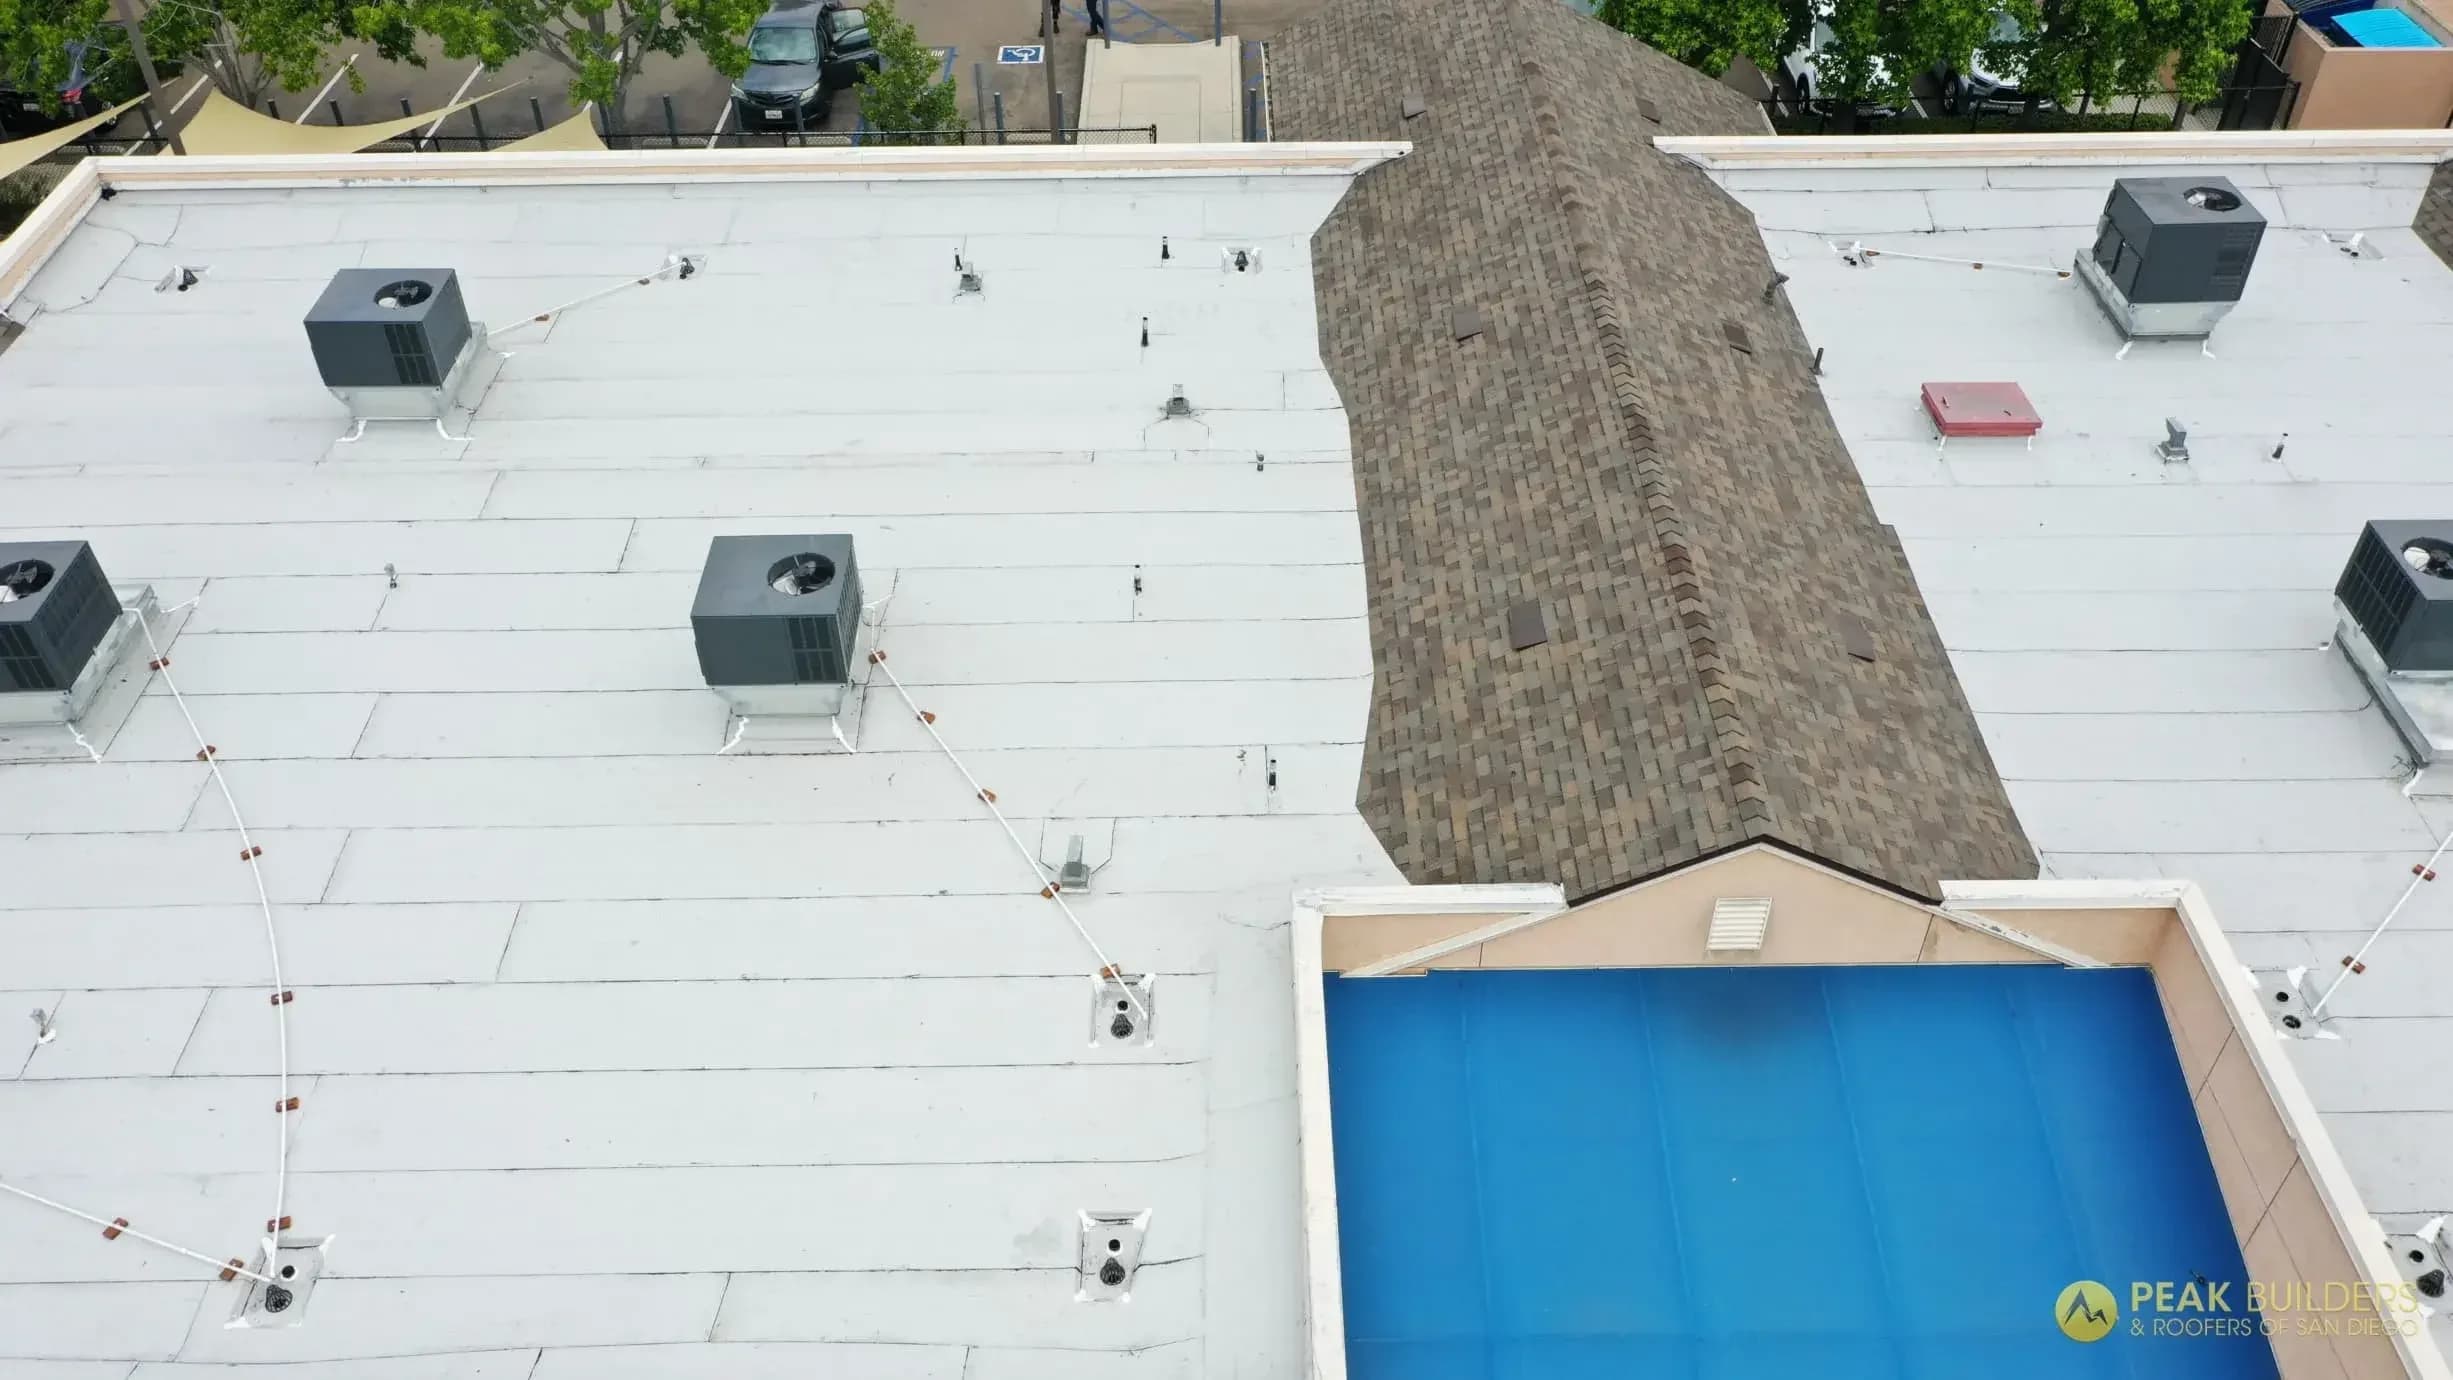
Our climate is gentle on tile and surprisingly hard on everything around it. Intense year-round UV bakes the underlayment and degrades exposed mastic and pipe-jack boots faster than most owners expect. North-facing slopes shaded under the morning marine layer grow moss and mold, which holds moisture against tile and mortar and speeds deterioration at the ridge.
Salt air is the quiet killer near the water. In La Jolla, Del Mar, Coronado, Point Loma, Encinitas, and Carlsbad, galvanized steel flashing corrodes from the inside out and rusts through long before the tile fails. On coastal roofs we spec stainless or heavy-gauge aluminum flashing — never plain galvanized — because re-doing corroded flashing is the most common repeat repair we see within a mile or two of the surf.
Then there are the events. Santa Ana wind drives rain uphill under the tile laps and lofts embers onto the roof in fire season; winter atmospheric rivers find every tired flashing and clogged valley. In the wildland-urban interface around Scripps Ranch, Poway, and the eastern county, a Class A fire assembly with ember-resistant vents isn't optional — it's how a tile roof earns its fire rating.
The Most Common Tile Repairs We Make
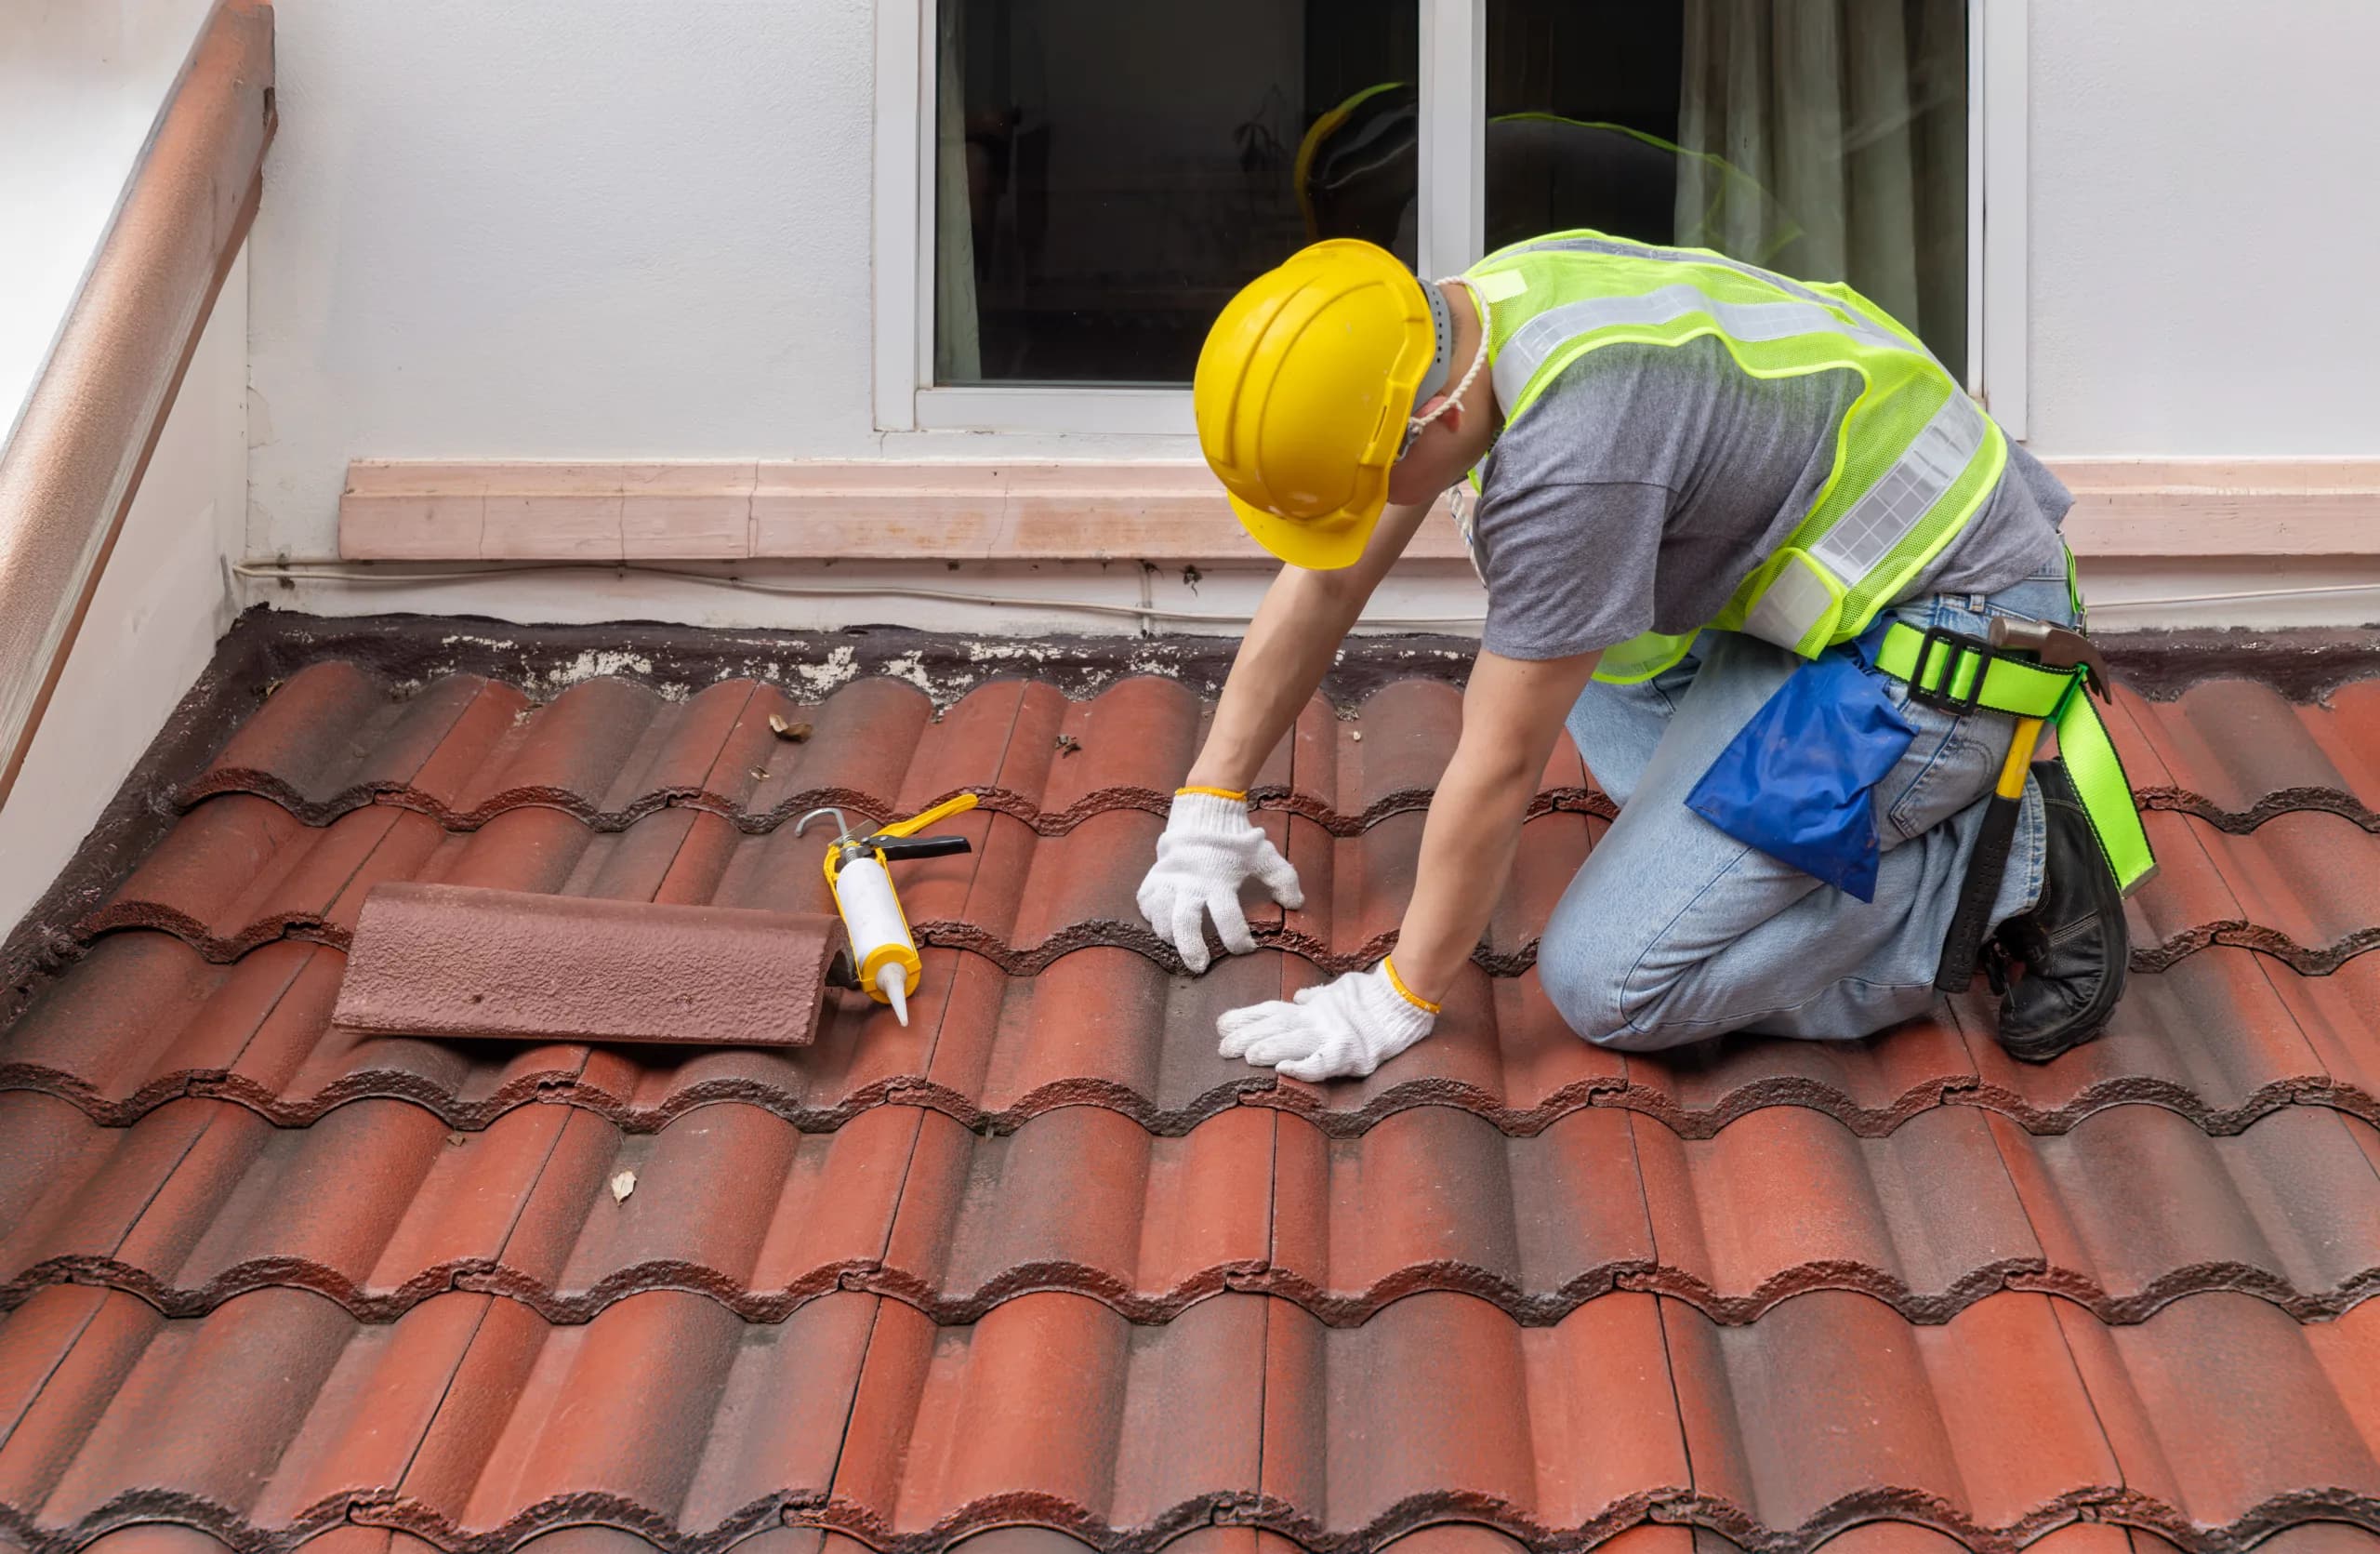
Cracked and slipped field tiles. Tiles broken by a falling branch, by an HVAC tech stepping on the unsupported center instead of the supported head, or by thermal stress over decades. The repair is simple — pull the broken tile, slide in a replacement, re-engage the interlock. The hard part is matching a 25-year-old discontinued profile and color; we stock common San Diego concrete and clay profiles and source obscure ones from salvage yards, because mismatched tile is obvious from the curb and hurts resale.
Ridge and hip failures. Older ridges are set in mortar, and mortar cracks from thermal cycling, letting water in and letting the caps shift in wind. Many newer roofs use a flexible foam or "dry ridge" system that holds up far better. Repointing or rebedding a ridge restores both weather-tightness and wind resistance, and it's one of the highest-value tile repairs you can make.
Flashing at walls, chimneys, valleys, and penetrations. This is where most tile roofs actually leak. Sidewall and headwall flashing, chimney counter-flashing, valley metal, and pipe-jack boots all age out before the tile. Near the coast we replace corroded galvanized with stainless or aluminum; inland we still find pinholed valleys full of debris. Re-flashing properly often means carefully removing and resetting the surrounding tile — which is why crew experience matters.
Eave and gutter-line rot. When gutters clog and overflow in a winter storm, water backs up under the eave course, saturates the fascia, and rots the wood the lowest tiles rest on. The fix is correcting drainage, replacing rotted fascia and failed eave underlayment, and reseating the displaced tiles.
Matching the Repair to the Roof's Condition
The right tile repair is driven by what the roof actually needs, not by a one-size-fits-all menu. Pitch, height, tile profile, and coastal exposure all change the scope of work — and the durability you get out of it. Here's what each common repair buys you in years and protection:
- Cracked field tiles — a same-day fix that restores the UV armor and rain shield over a small area, as long as the profile and color are matched so the roof reads as one continuous field.
- Ridge and hip repointing or rebedding — restores both weather-tightness and wind resistance along the most exposed line of the roof; one of the longest-lasting, highest-value repairs you can make on a tile roof.
- Chimney, wall, and valley re-flashing — replaces the metal that ages out before the tile. Near the coast we spec stainless or heavy aluminum that resists salt corrosion for decades instead of galvanized that rusts through.
- Eave and fascia rot repair with tile reset — corrects the drainage and rebuilds the rotted wood the lowest tiles rest on, protecting the structure, not just the surface.
- Partial underlayment replacement on one slope — resets the waterproofing on the slope that's actually failing while leaving sound slopes alone.
- Full lift-and-relay — the big decision below: new underlayment and flashing under your original tile, resetting the waterproofing clock for another 25 to 30 years.
Every roof is different, so the only honest number is the one that follows a real inspection. Call (619) 330-8185 or request a free quote and we'll scope the work to your roof's actual condition.
Repair or Re-Felt? Make the Call on Underlayment
If your tile roof is over 25 years old and you're seeing leaks in more than one spot, the question isn't "how many tiles do I replace." It's "how much life is left in the membrane." A qualified tile roofer answers it by lifting tile in several representative areas — a north slope, a south slope, near a valley — and reading the felt. Brittleness, cracking, delamination, or felt that disintegrates when handled means the membrane is failing roof-wide, and chasing individual leaks will only move the problem from one slope to the next.
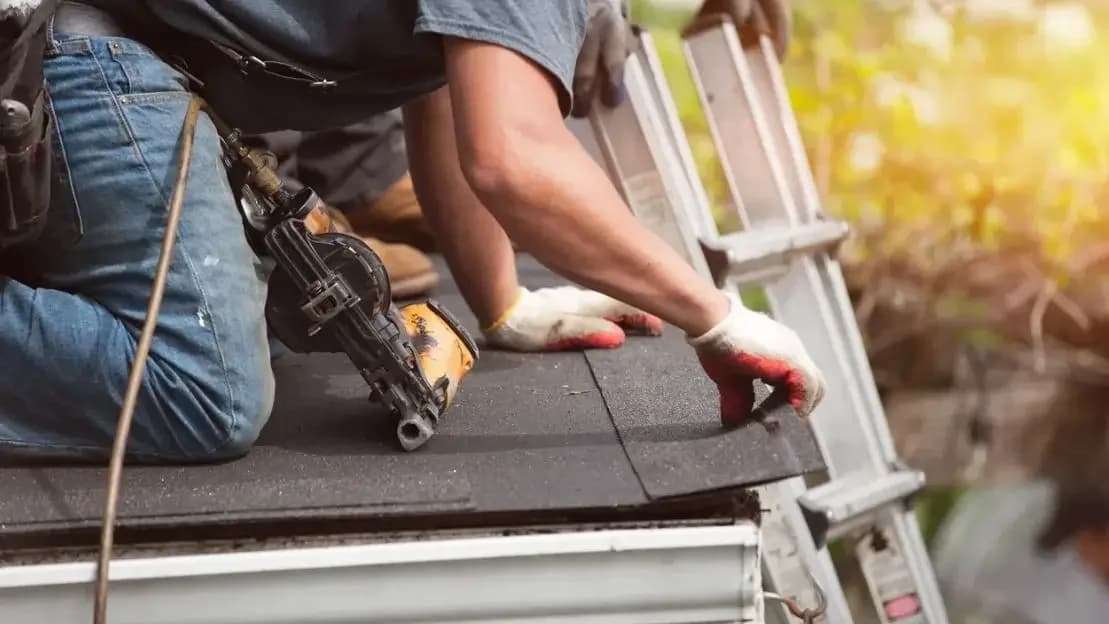
When the underlayment is shot but the tile is sound, the smart money is a lift-and-relay: we remove and palletize your existing tile, strip the old felt, install new underlayment (high-temp synthetic, or a two-ply mod-bit on low slopes), replace corroded flashing, and re-lay your original tile. You reset the waterproofing clock for another 25 to 30 years, keep the durable original tile field instead of throwing away decades of remaining tile life, and preserve the look of the original roof.
New for 2026: California's updated Title 24 standards take effect January 1, 2026, and for the first time extend cool-roof requirements to steep-slope residential re-roofs in our Climate Zone 7. On a full tear-off or lift-and-relay, that can change underlayment and tile-finish specs and pull a more involved City of San Diego or County permit. Near the water, a full roof replacement may also touch Coastal Commission review — exactly the details a licensed San Diego roofer should flag before the first tile comes off, not after the inspector red-tags the job.
When Tile Isn't the Answer Anymore
Sometimes the honest answer isn't more tile. On low-slope sections and additions where tile was never the right call, we'll move you to a flat-roofing membrane — TPO, EPDM, or modified bitumen — that sheds water at low pitch. On exposed coastal and fire-zone homes, a standing-seam metal roof is worth considering for its Class A fire rating and 50-year service life. After a Santa Ana or atmospheric-river event, storm-damage restoration often pairs targeted tile repair with an insurance claim. But for the typical Spanish-tile home, well-executed tile roof repair or a lift-and-relay keeps the roof original and watertight for decades.
Who Should Touch Your Tile Roof
Tile is unforgiving of inexperience — a crew that doesn't step only on the supported head of each tile will break more than they fix, and a careless reset traps water instead of shedding it. Ask any contractor how many tile projects they run a month, whether they stock San Diego profiles, and for references from tile work. Verify the California C-39 roofing license at cslb.ca.gov and confirm current liability and workers' comp.
Peak Builders & Roofers of San Diego is licensed (CSLB #1008986), in business since 1999, GAF Master Elite and Owens Corning Platinum Preferred, BBB A+, and rated 4.9 stars across 230-plus reviews. We repair and re-felt tile roofs throughout La Jolla, Carlsbad, Encinitas, Del Mar, Coronado, Poway, Point Loma, Rancho Santa Fe, and Scripps Ranch. Call (619) 330-8185 or request an inspection and we'll read your underlayment, not just your tile, and give you an honest repair-versus-relay answer.
Frequently Asked Questions
Why is my tile roof leaking when all the tiles look fine?
The tile isn't the waterproofing — the underlayment beneath it is. Tile sheds most water and blocks UV, but the membrane under it carries past-the-tile water to the gutter, and that membrane typically fails at 20 to 25 years while the tile lasts 50-plus. Water also travels along the underlayment before dripping inside, so the stain is often several feet from the real entry point.
Should I repair my tile roof or do a full re-felt?
If the leaks are isolated and the underlayment still tests sound, targeted repairs make sense. Past 25 years with multiple leaks, a lift-and-relay — new underlayment and flashing under your existing tile — usually delivers far better long-term value, resetting the waterproofing for 25 to 30 years while reusing the tile field that still has decades of life left. The deciding factor is membrane condition, not the tile.
What determines the scope of a tile roof repair in San Diego?
It comes down to the condition of what's under the tile and how widespread the problem is. A few cracked tiles or a single flashing detail is a small, targeted fix; a failing membrane across multiple slopes points toward a full lift-and-relay. Pitch, height, tile profile, and coastal exposure all factor in — coastal roofs need corrosion-resistant stainless or aluminum flashing that lasts decades longer near salt air. Because every roof is different, the right scope follows a real inspection. Call (619) 330-8185 or request a free quote for an honest, condition-based answer.
Does coastal salt air affect tile roof repairs?
Yes. Within a mile or two of the surf — La Jolla, Del Mar, Coronado — galvanized steel flashing rusts through long before the tile fails, so we spec stainless or heavy aluminum on coastal repairs. Salt-driven corrosion of fasteners and metal is the most common repeat issue near the water, which makes flashing metal the choice that matters most there.
Do I need a permit to repair my tile roof in San Diego?
Small repairs — a few tiles, a flashing detail — generally don't. A re-roof or full lift-and-relay does pull a City of San Diego or County permit, and as of January 1, 2026 the updated Title 24 standards extend cool-roof requirements to steep-slope residential re-roofs in our climate zone, which can affect your specs. Coastal-zone homes may also trigger Coastal Commission review. A licensed roofer should handle permitting and flag these before work begins.